
The header and footer are essential components of any online store, as they provide a consistent navigation experience for customers across all pages. The header includes the store's navigation links and search bar, while the footer typically includes links to other relevant pages. It is important to ensure that these sections are well-designed and informative, as they can play a significant role in ensuring your customers can easily find what they are looking for.
In this article:
- Header
- Header Settings
- Megamenu and Rich submenu
- Setting Up the Megamenu
- Setting Up the Rich Submenu
- Top Bar and Bottom Bar
- Footer and Sub-Footer
- Other Links
Header
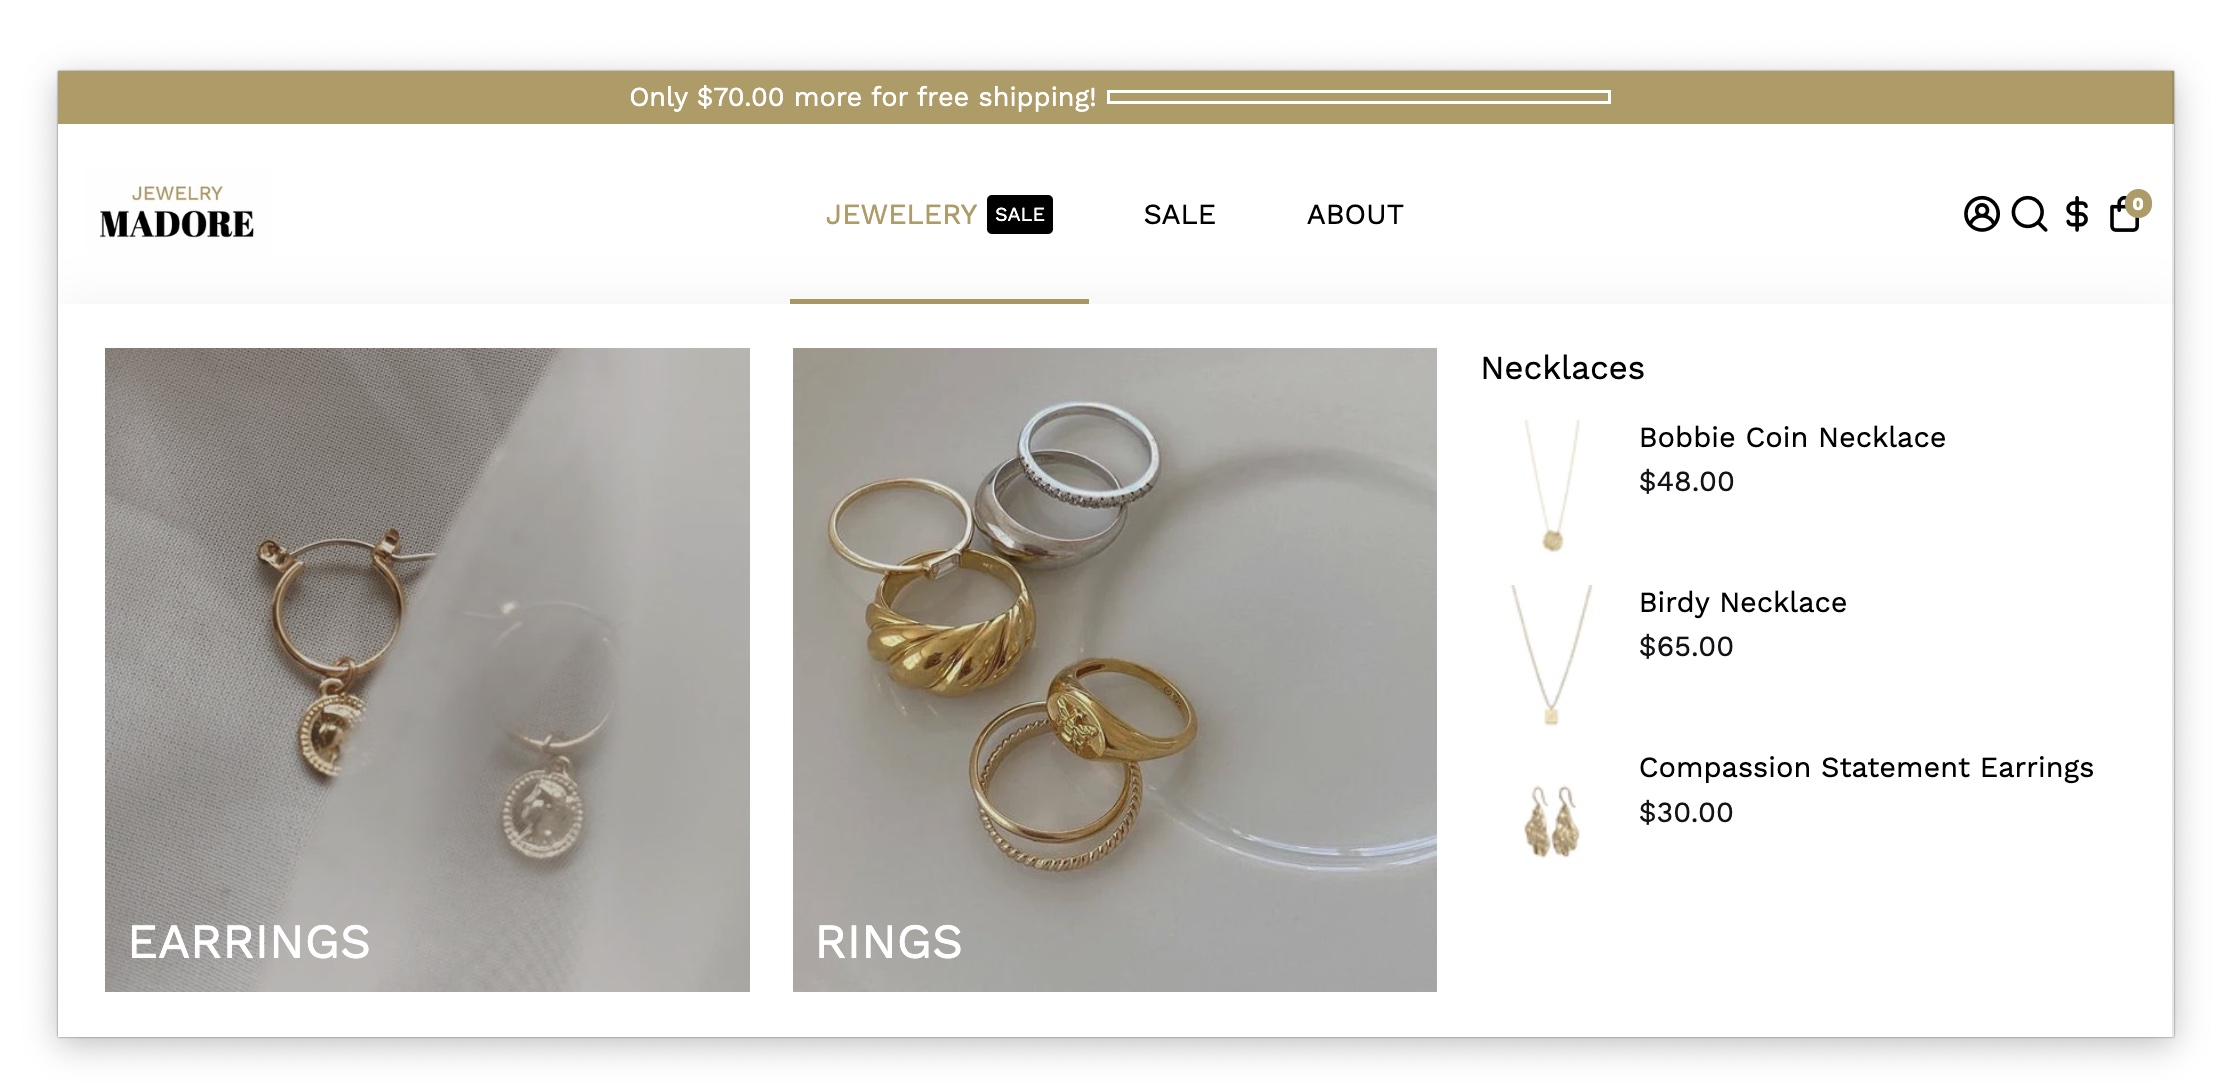
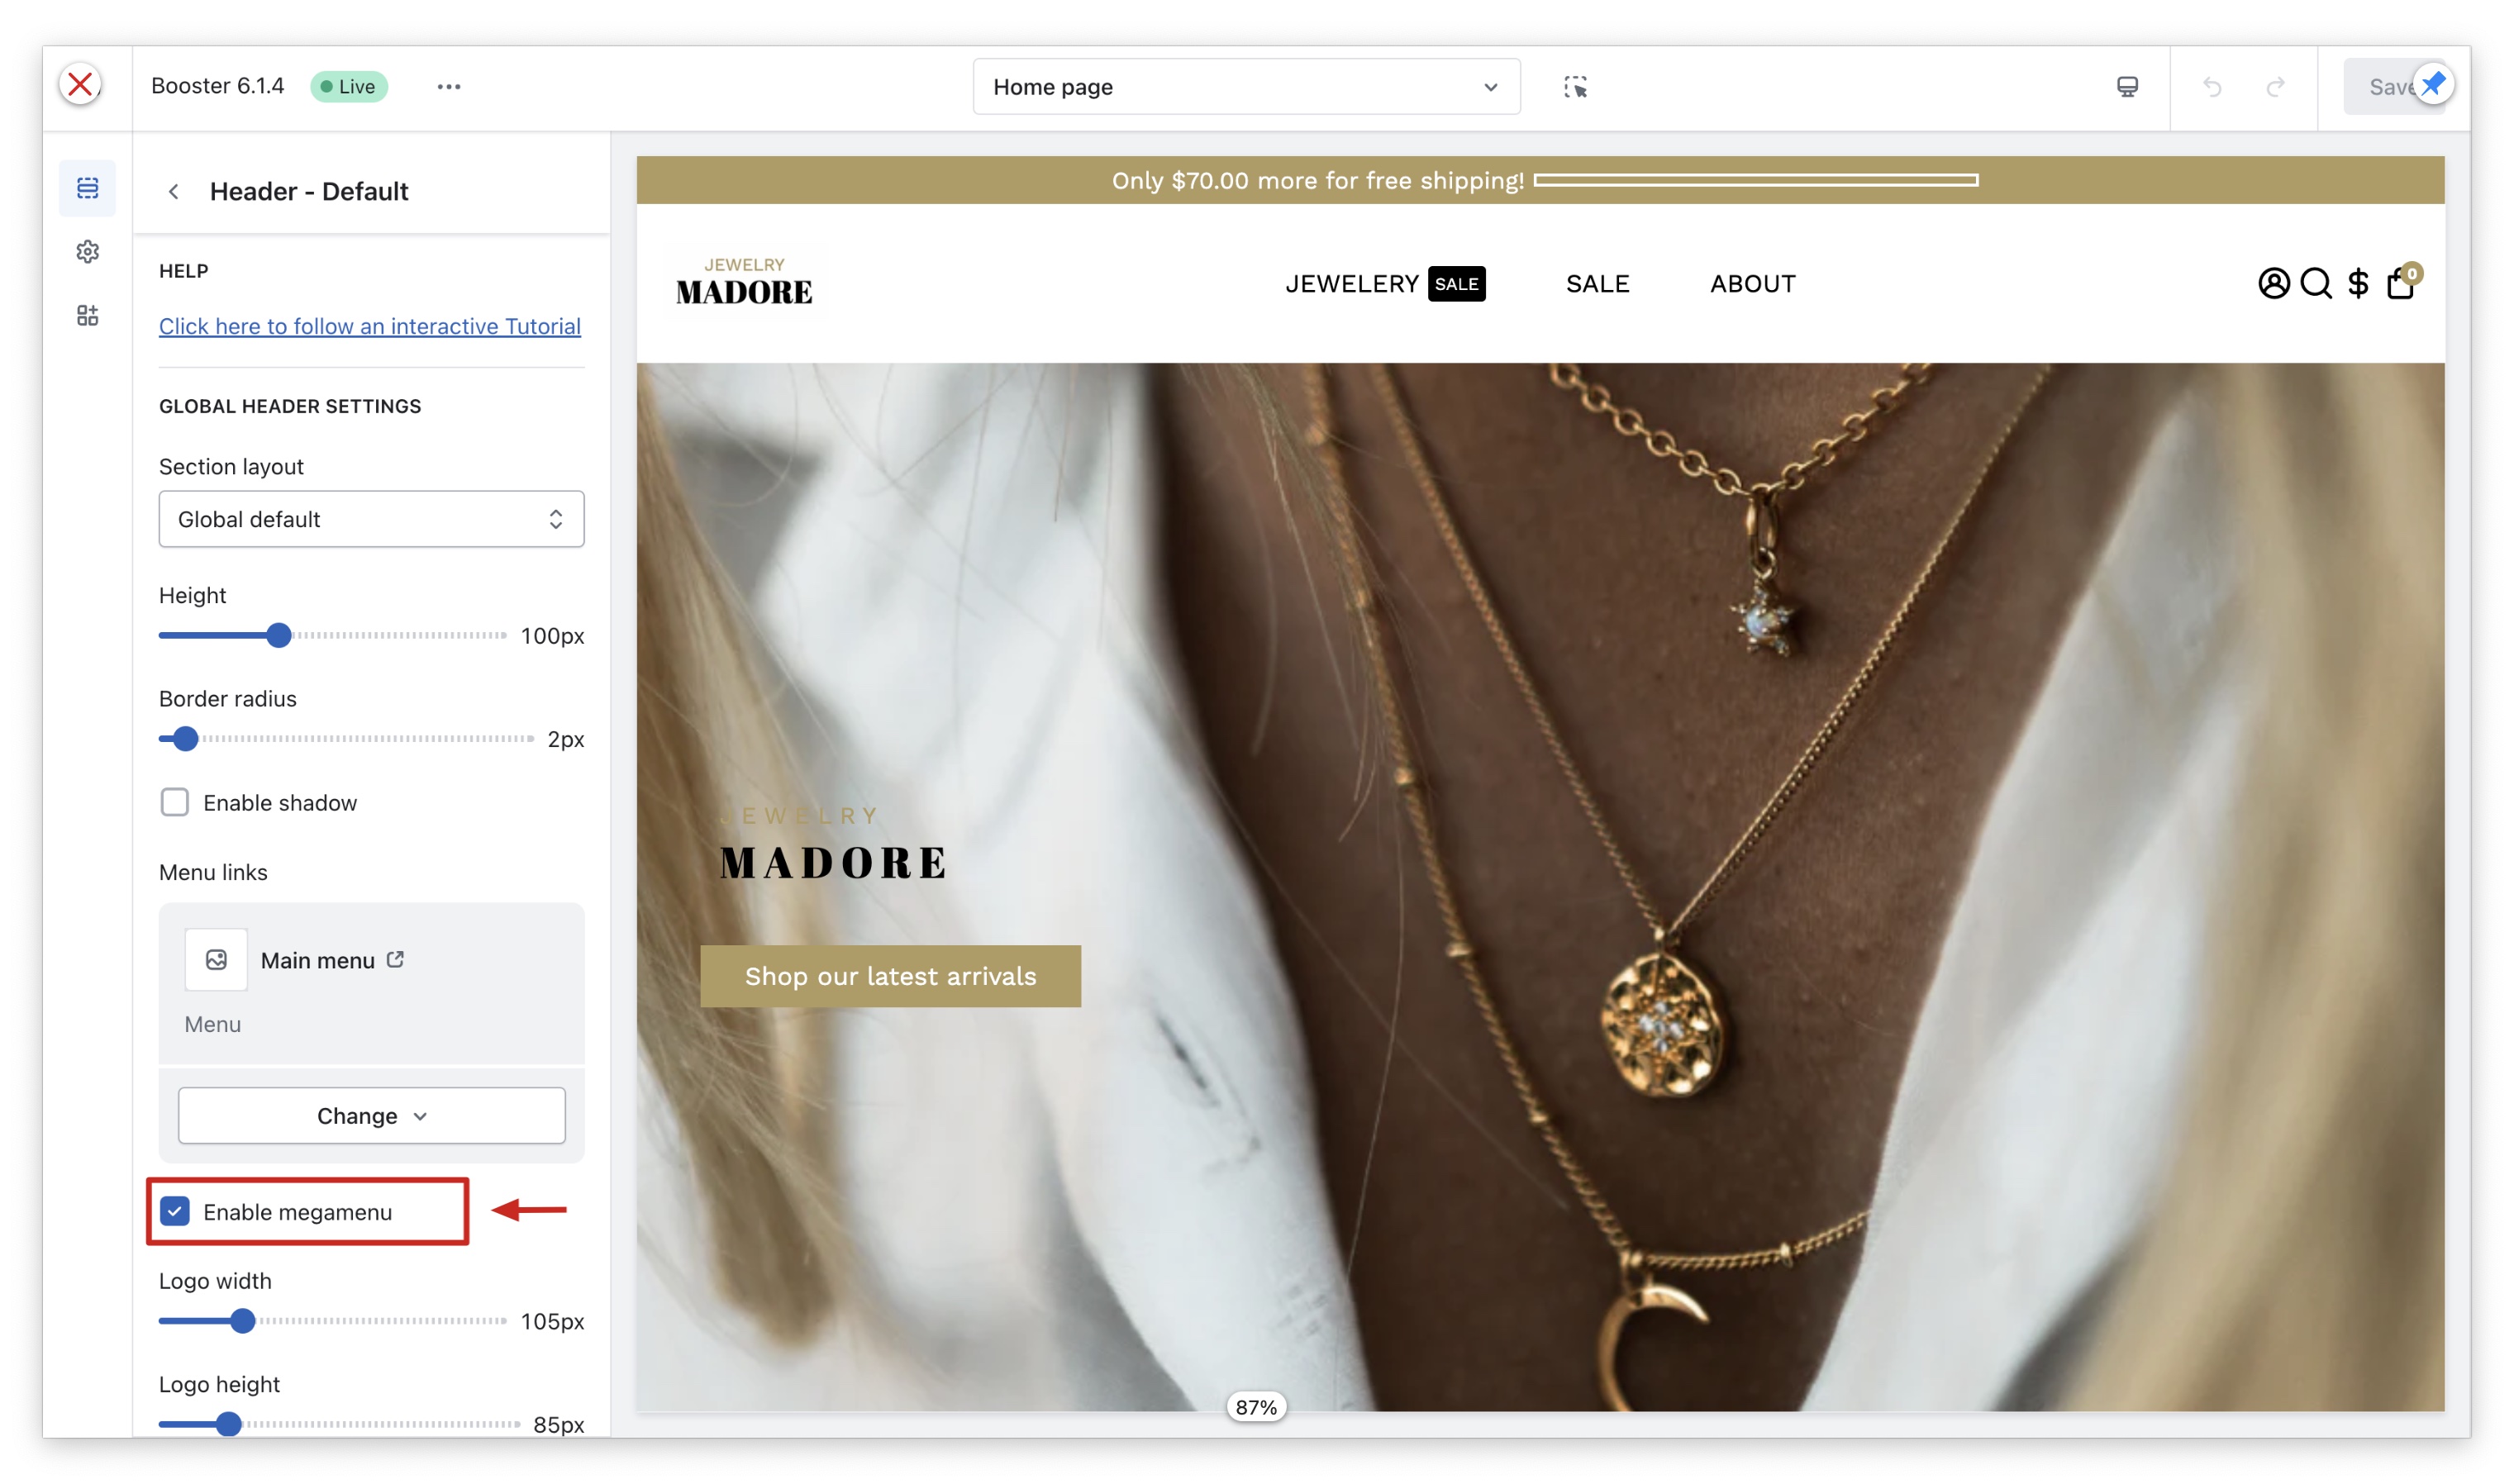
The header is the primary navigational component of a website. It typically contains a logo(1), a navigation menu(2), and general utilities(3) for users.

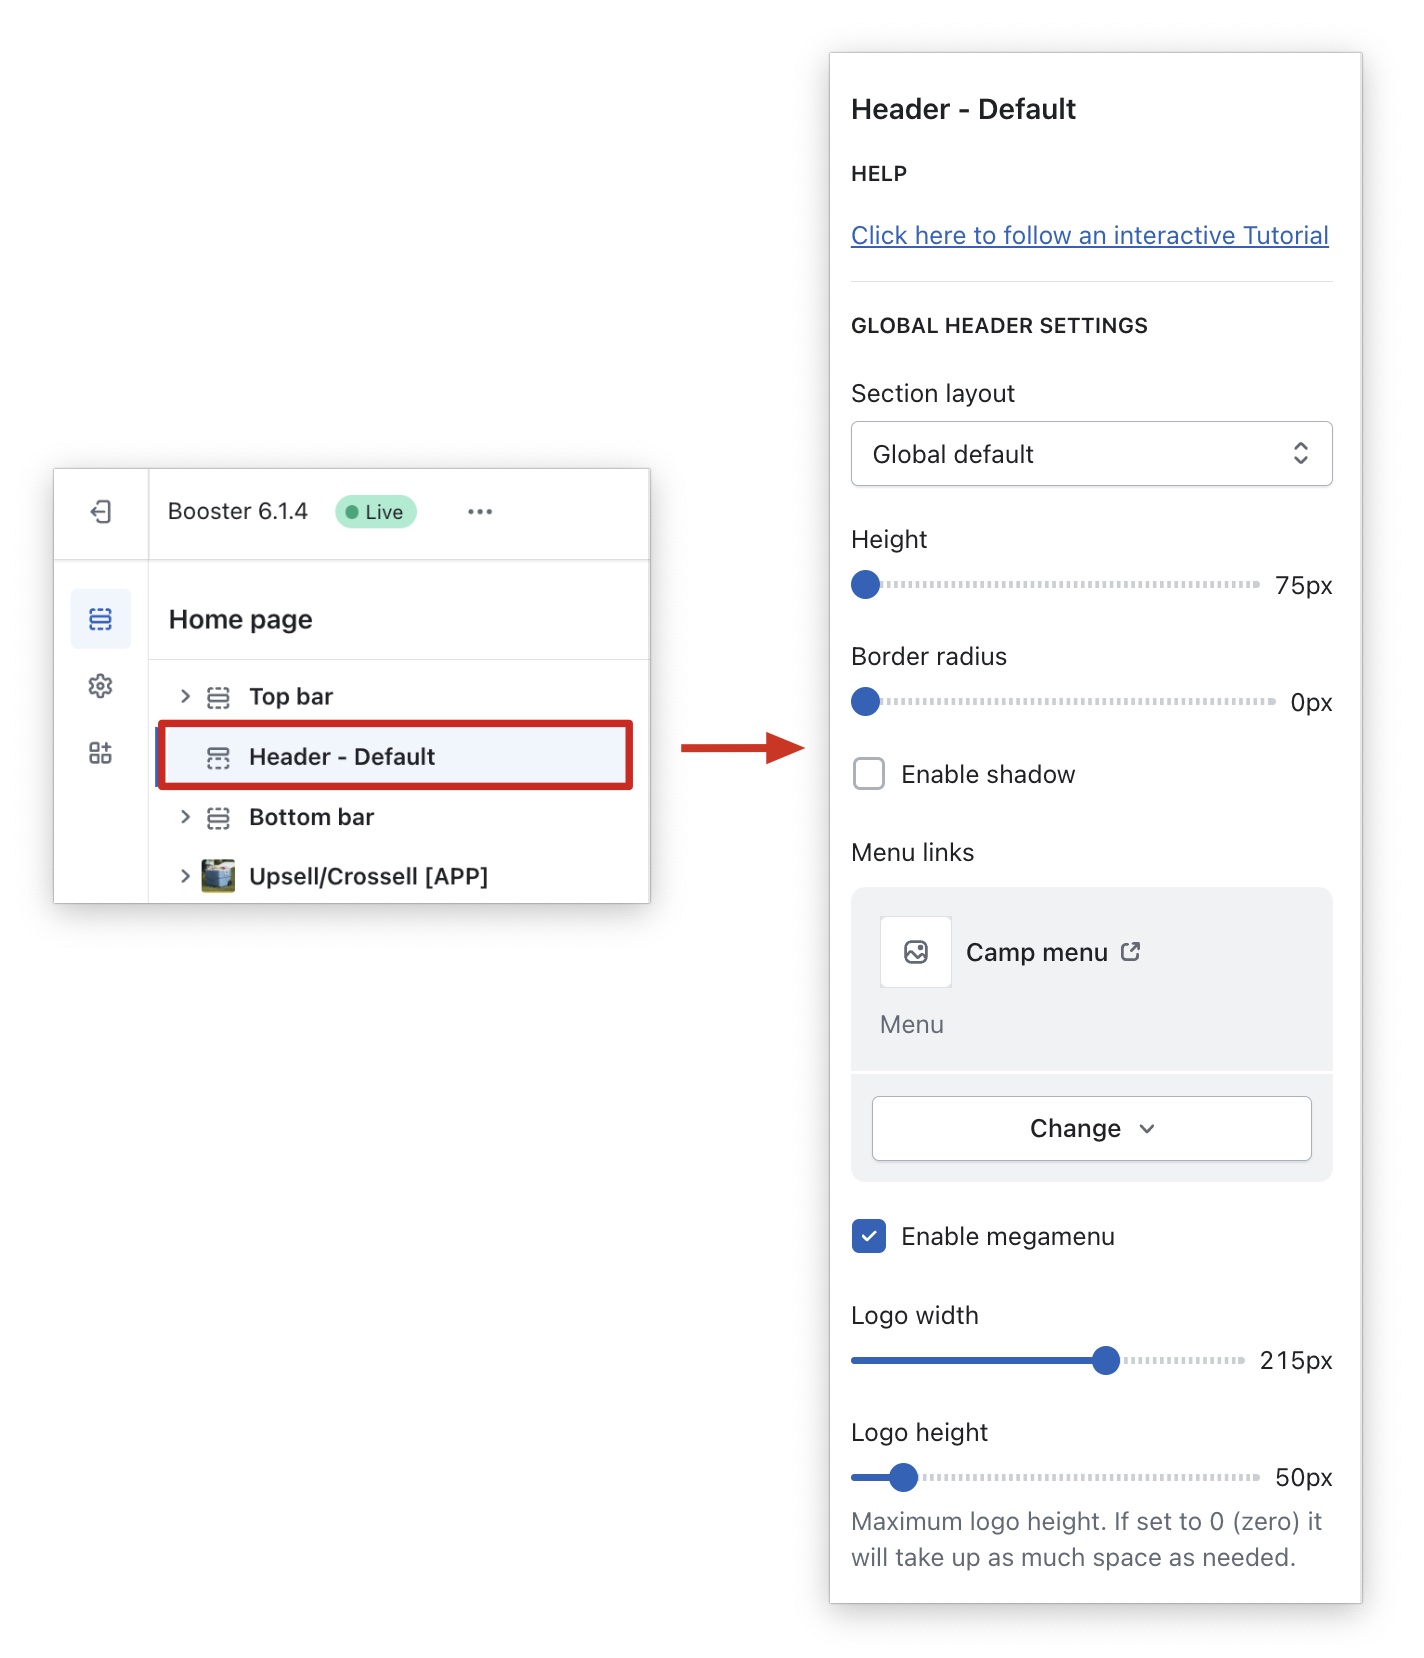
Header Settings
The header settings offer a lot of layout options. To learn more, kindly refer to this article.
Megamenu and Rich submenu
The header menu is a critical component of any online store, as it allows users to navigate throughout the site. With the Booster Theme, you can customize the header menu. You are not limited to a basic menu; you can also create a mega menu that displays images(1) and rich submenus that contain icons, titles, and descriptions(2).
1. Megamenu
2. Rich submenu

Setting up the Megamenu
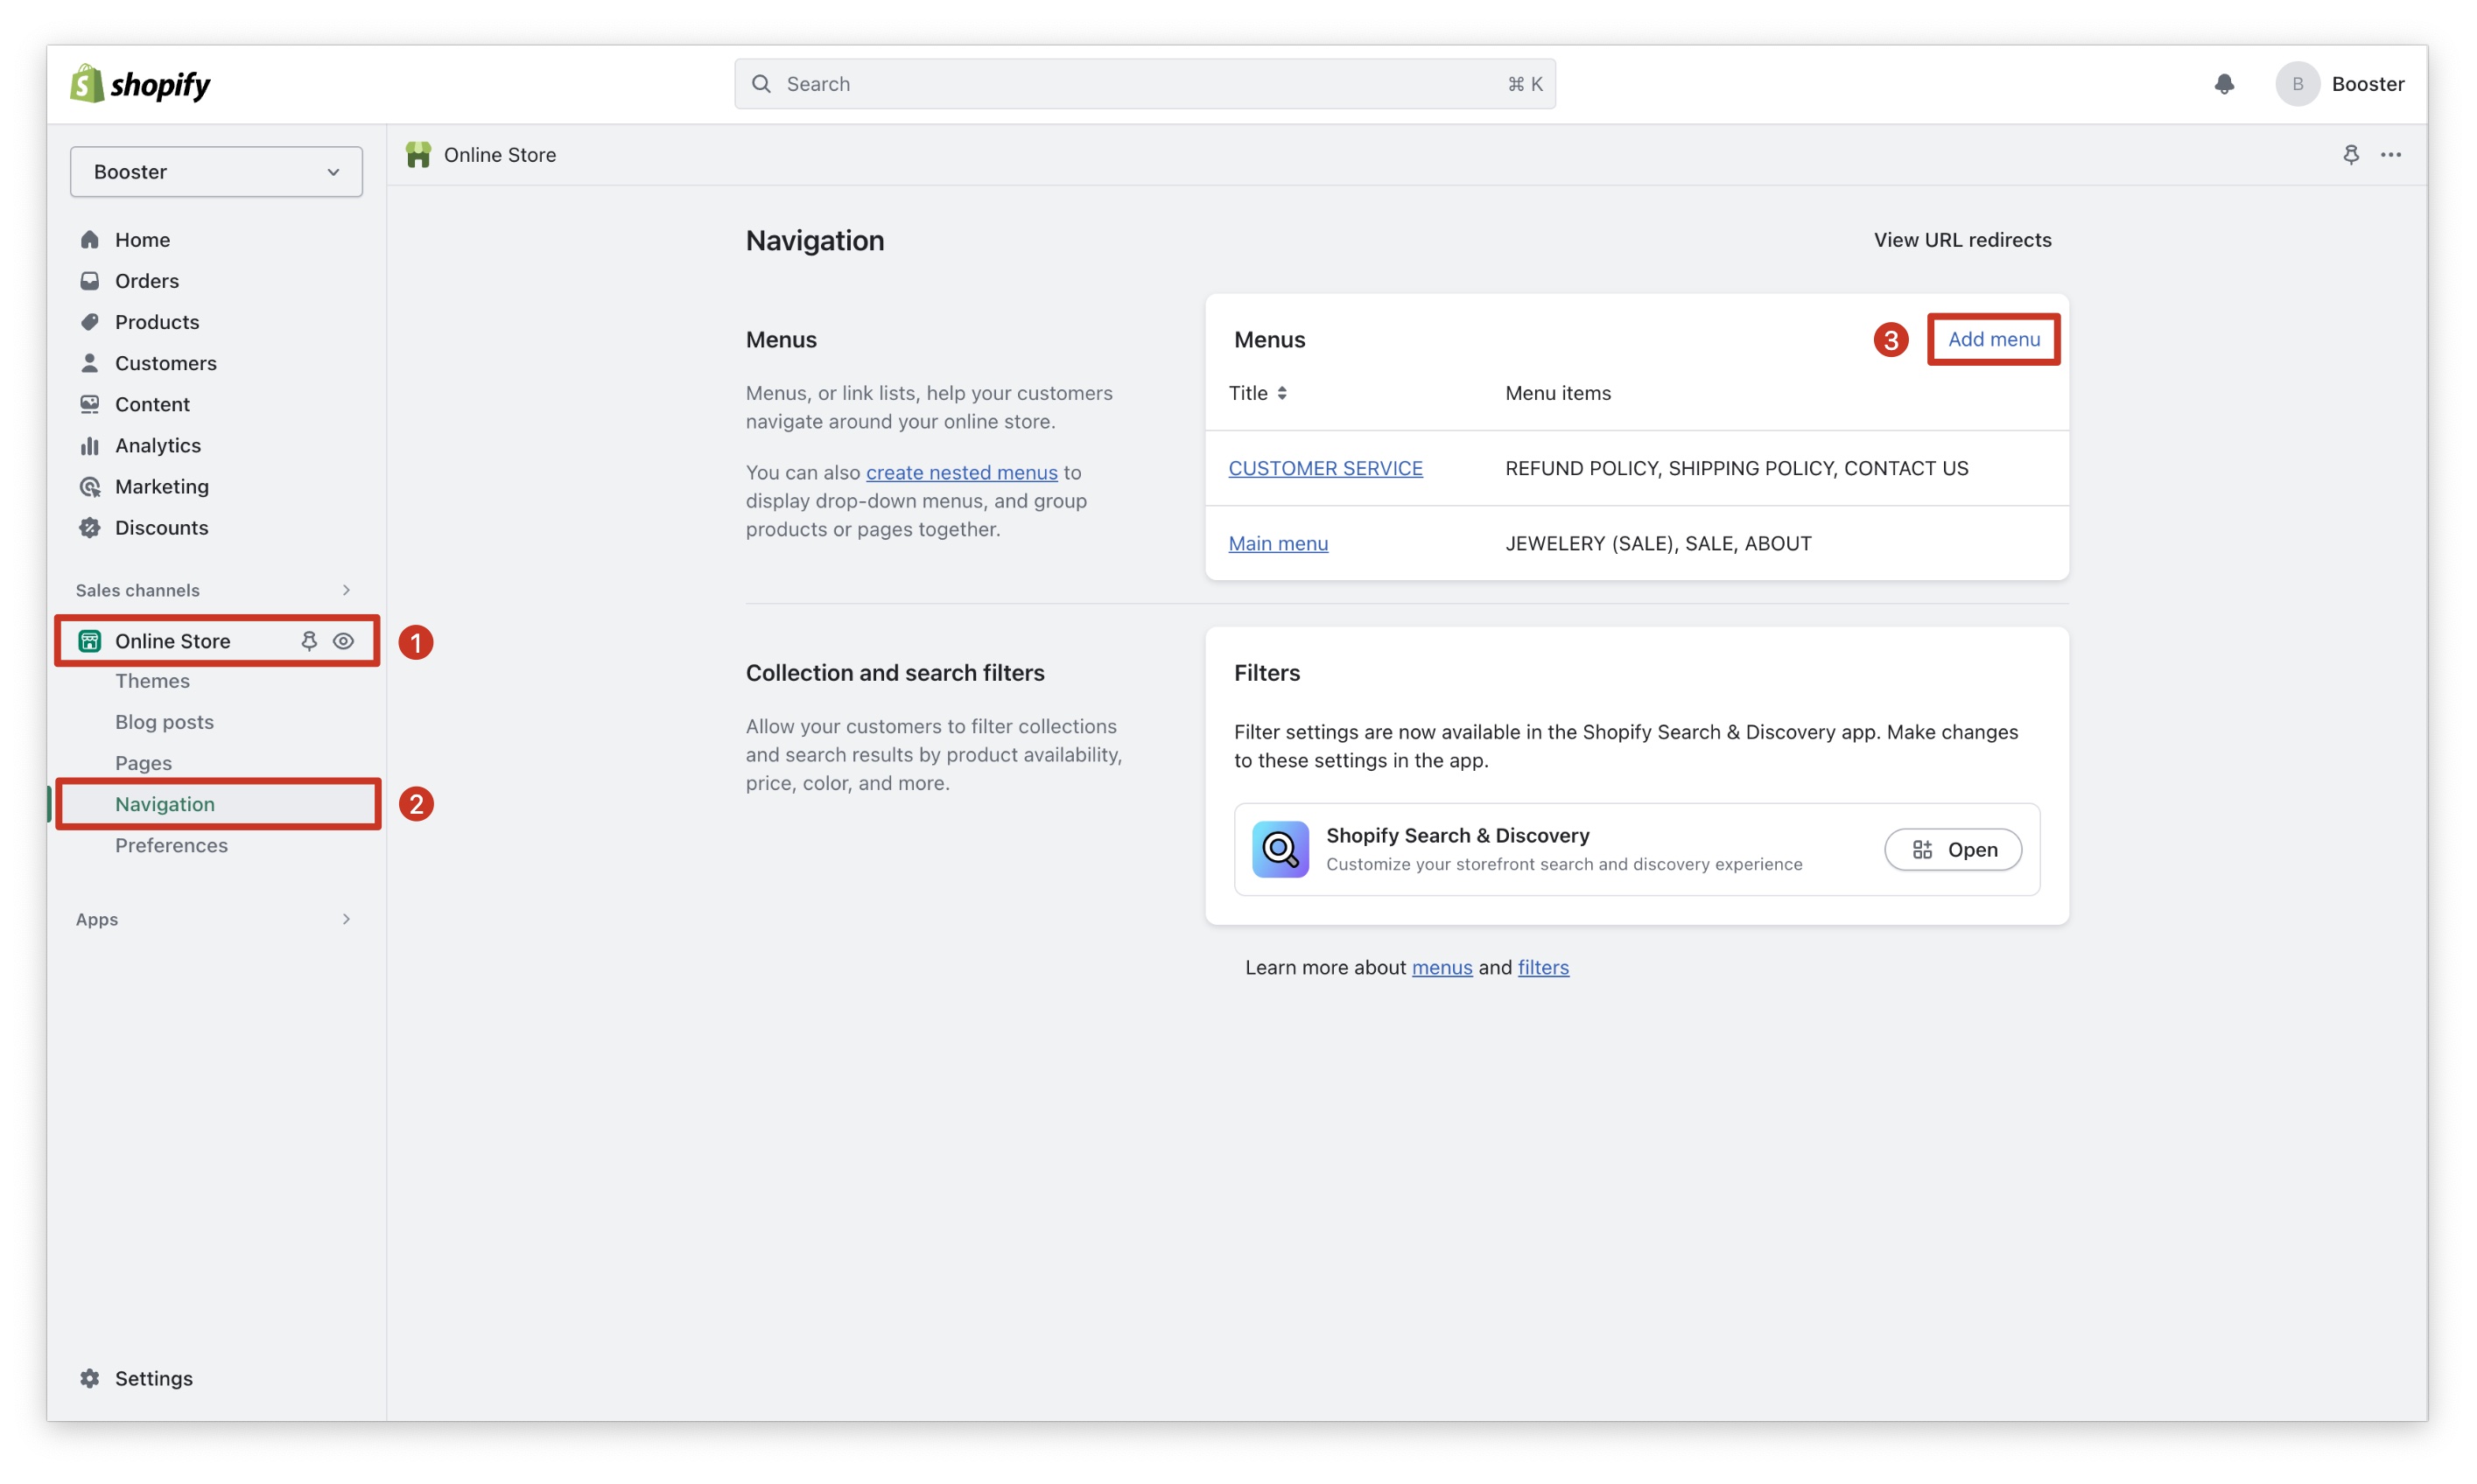
Step 1. Create a Menu
Go to your Online Store → Navigation → Add menu.
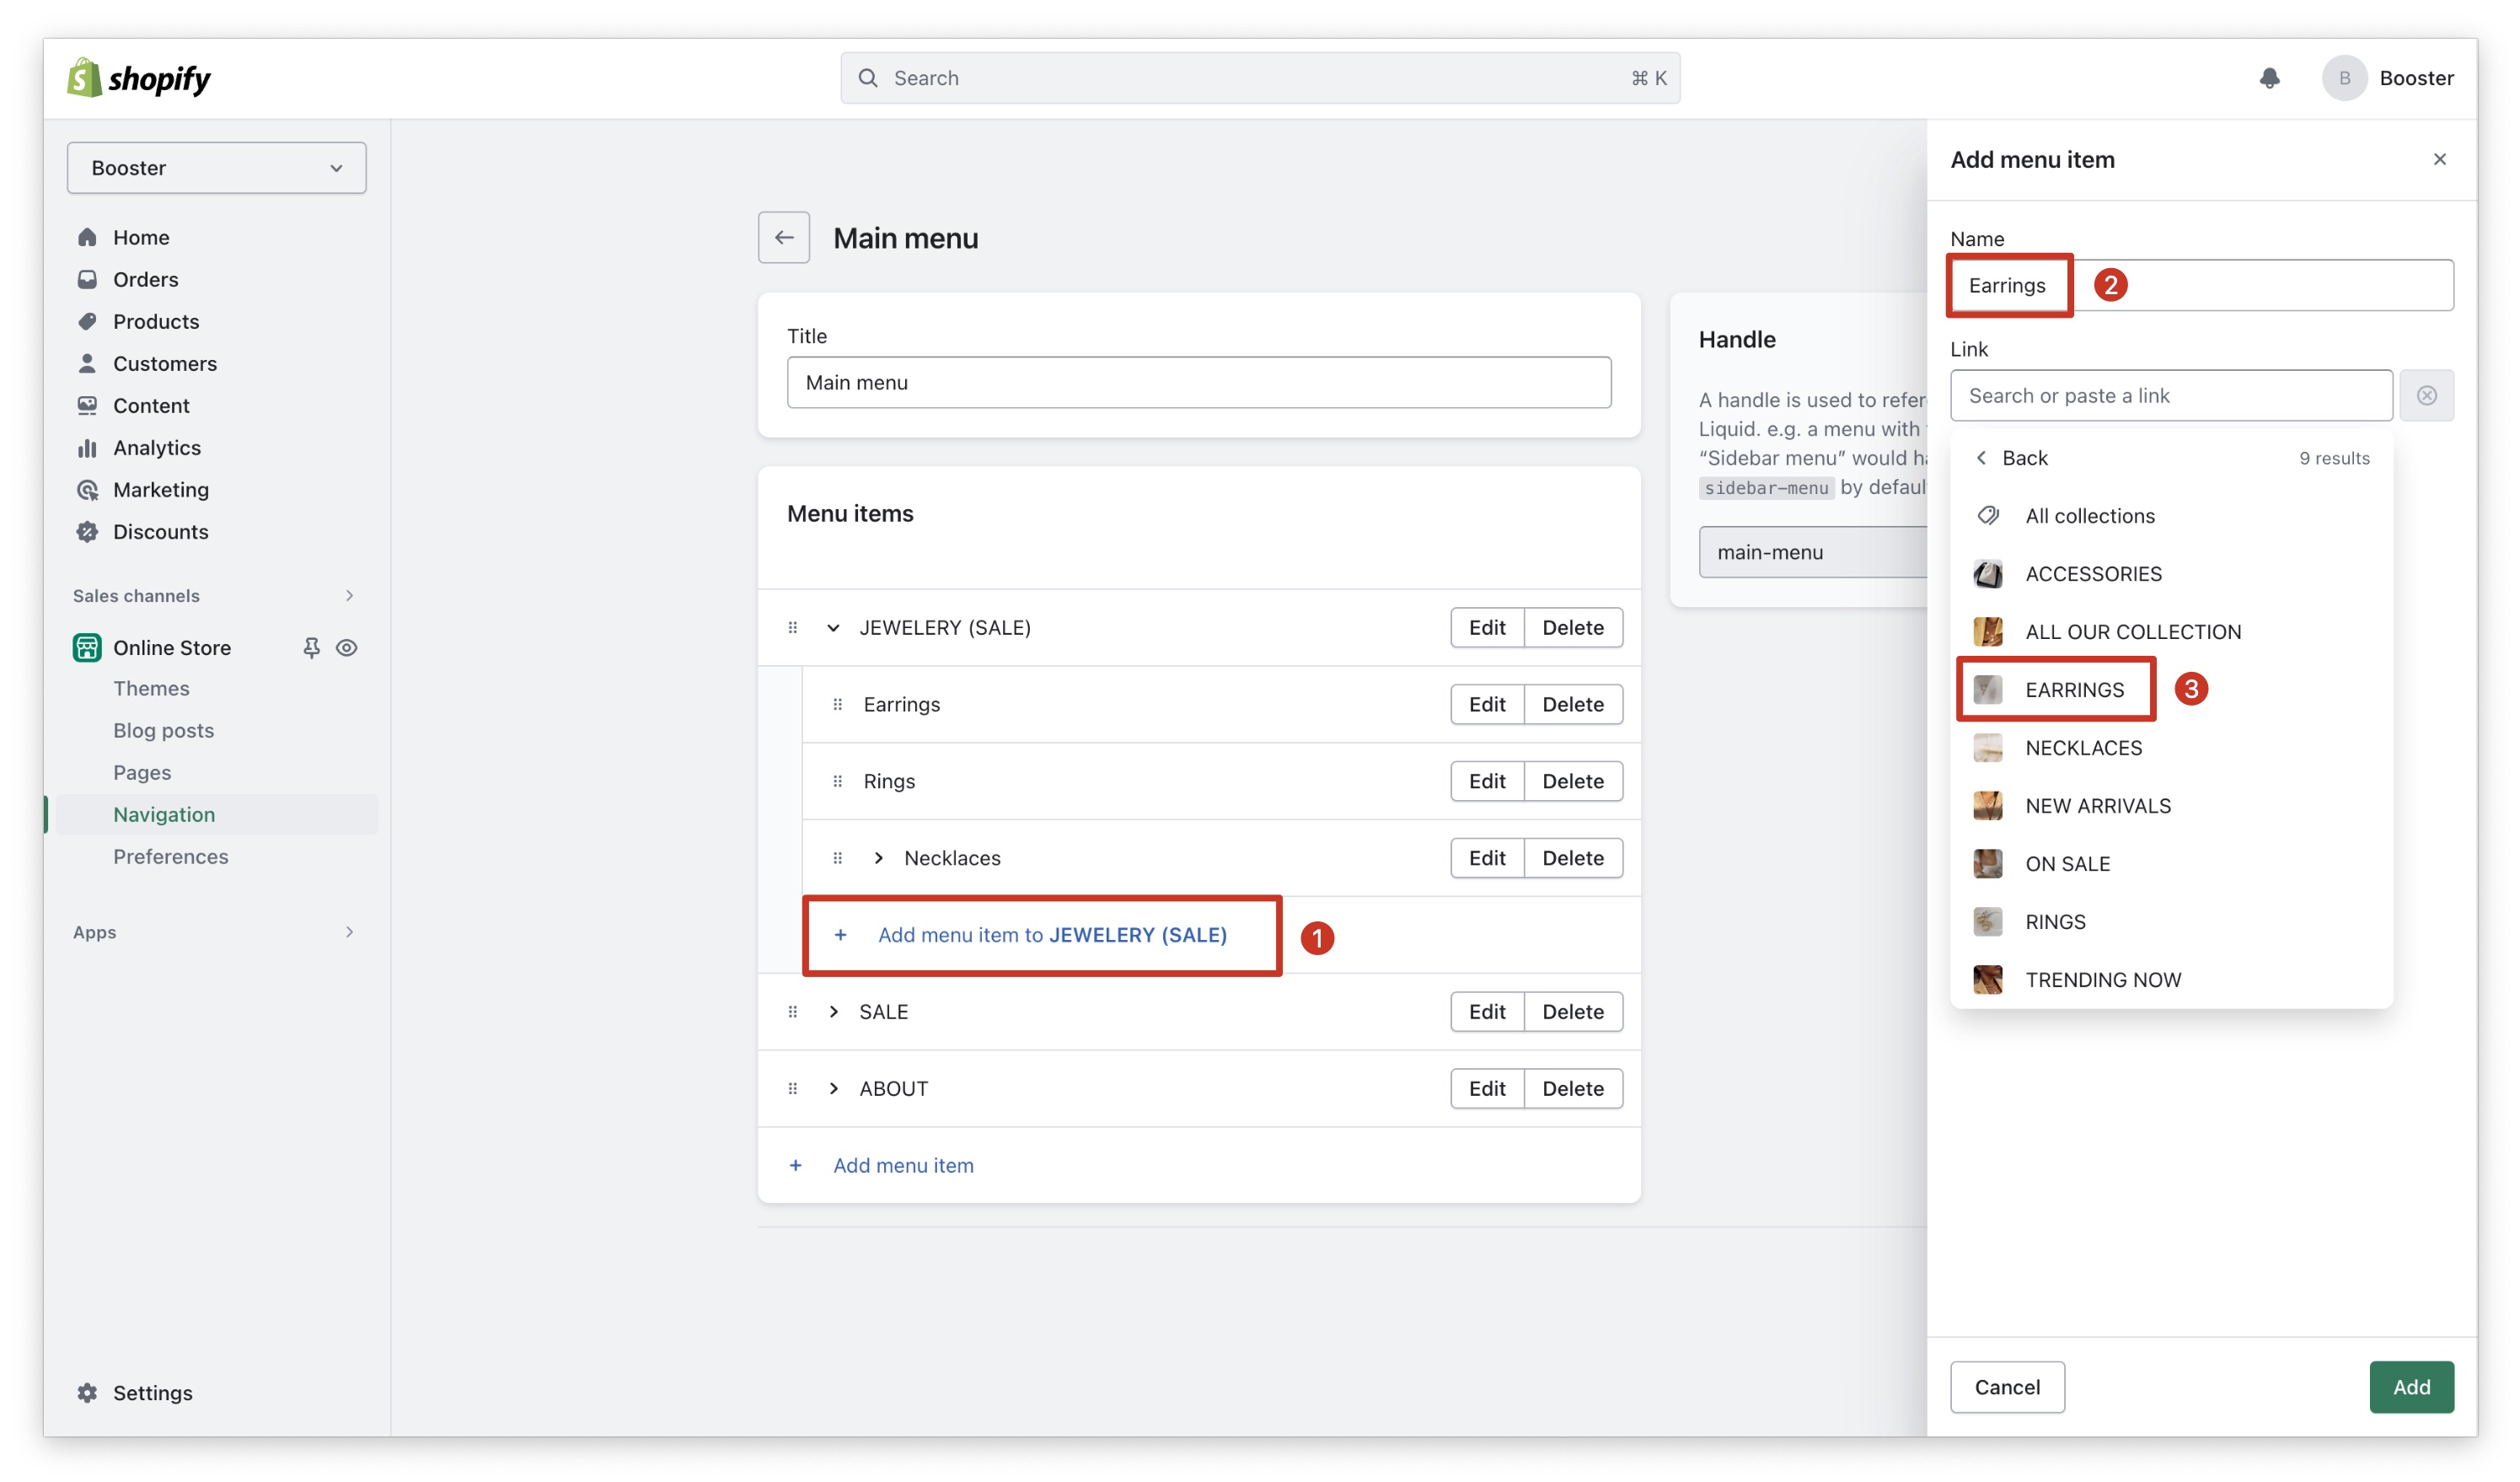
Step 2. Add Sub-items
In order to trigger the mega-menu layout, you'll need to add a submenu item that is a collection or a product with an image.
Step 2. Enable the Megamenu Option
Go into the Header settings and check the "Enable megamenu" option.
Setting Up the Rich Submenu
In the ABOUT item, you can see that it's different, this is a way do to it for the rich submenu features. The complete item is set up like this:
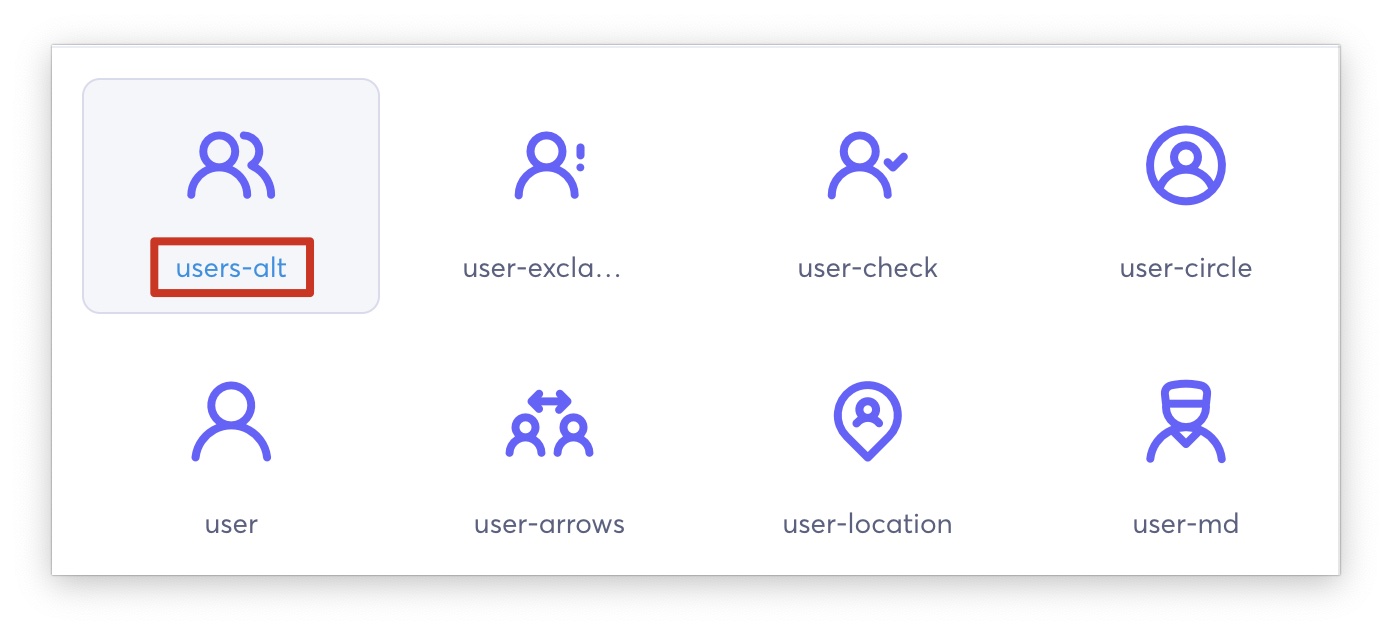
desc: Learn more about our core values and the team behind Madore | icon: users-alt | text: Our commitment

Here is the logic to follow to set up the rich submenu:
- "icon:" You need to use the icon names from this library (in this example: users-alt)
- "text:" This is for the title.
- "desc:" (optional) This is the description.
Note: Make sure to add a "|" between each element.
Step 3. Assign your menu in the Header Settings

You know everything now about the menu! You can now use the megamenu and the rich submenu features easily. There is so much more to discover inside Booster Theme!
Top bar and Bottom Bar
The top bar and bottom bar are two additional sections that can be found in the header. The top bar typically displays secondary menus, such as links to social media pages. The bottom bar typically displays additional information, such as free shipping or geo-block.

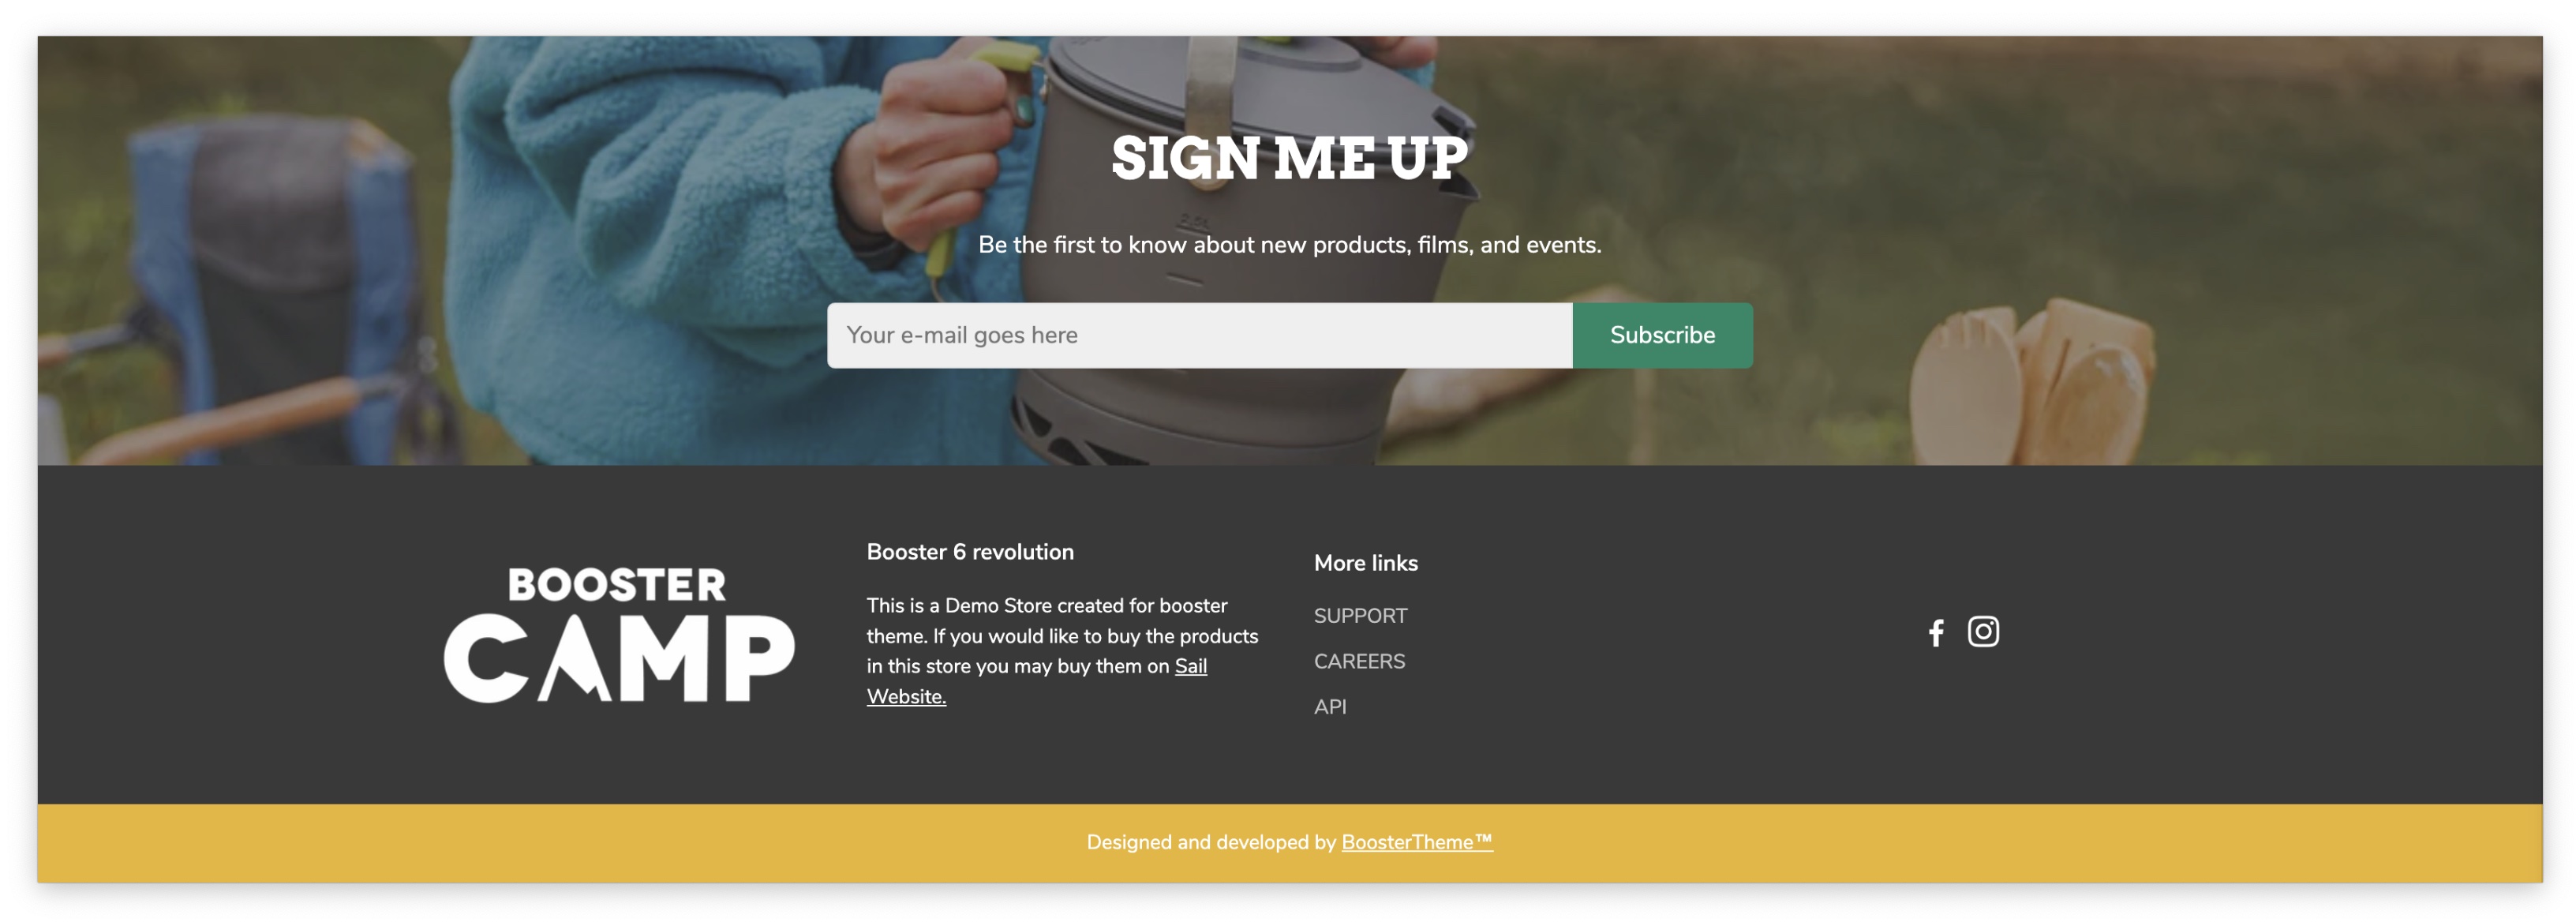
Footer and Sub-Footer
The footer and sub-footer are the bottommost sections of a website. They typically contain contact information, copyright information, and other legal terms. They can also be used to display additional information, such as a blogroll or a newsletter signup form.
Need more explanation? Here are the articles for you: