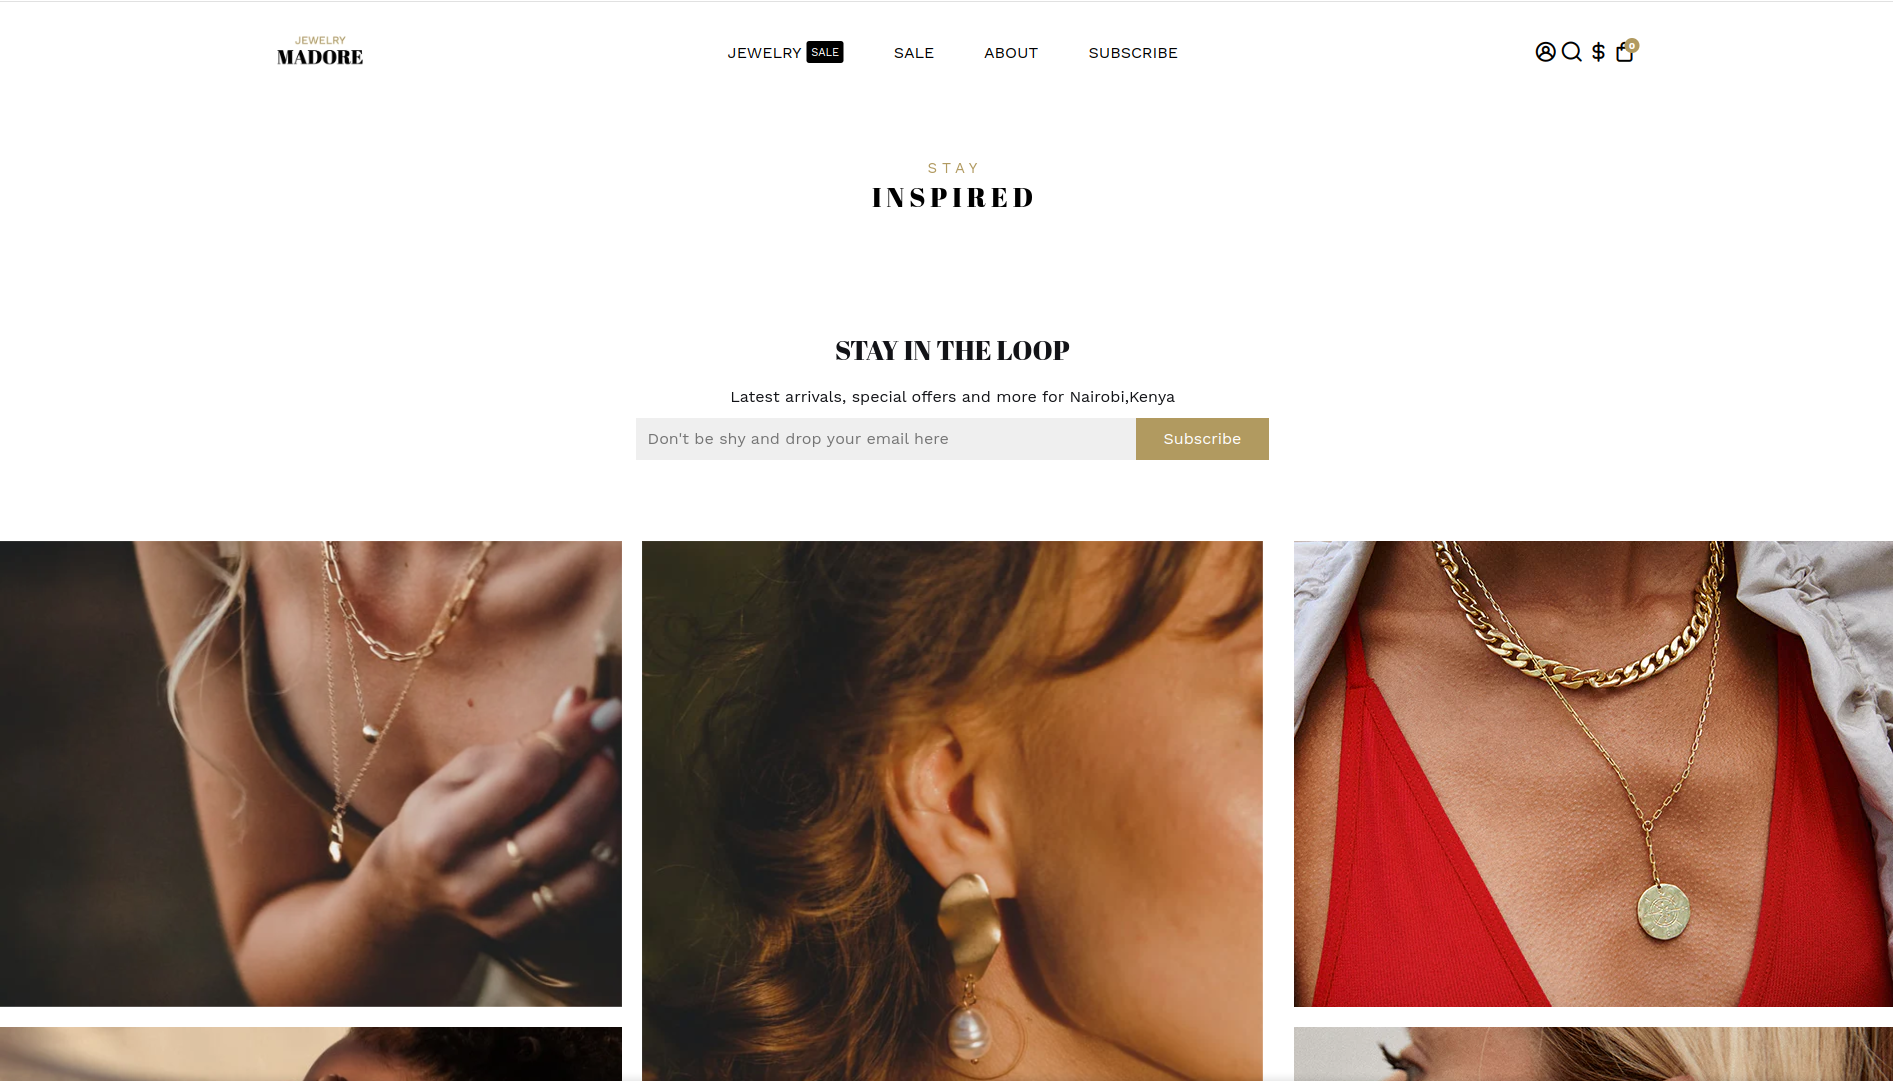
The newsletter is really important in order to get recurring customers, having a newsletter section will allow you to gather emails from your customers. Having those emails can help you with your marketing a lot!
In this article:
- Where can you find newsletter?
- Adding newsletter
- Configuring the newsletter provider
- Settings to customize your newsletter block
Where can you find the newsletter?
In Booster Theme, the newsletter is available in any section which has content blocks (Image Text, Video Text, Lookboox Text, Footer, Subfooter, CTA, Split CTA, Custom Content, Map). It is also available in the Top bar, Footer and Sub-Footer.
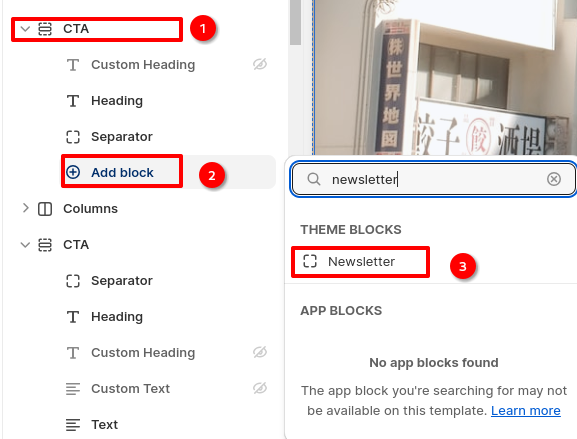
Adding newsletter
In order to add a Newsletter block, simply click on the content section with newsletter block or Top bar or Footer. The image below is an example of adding to CTA
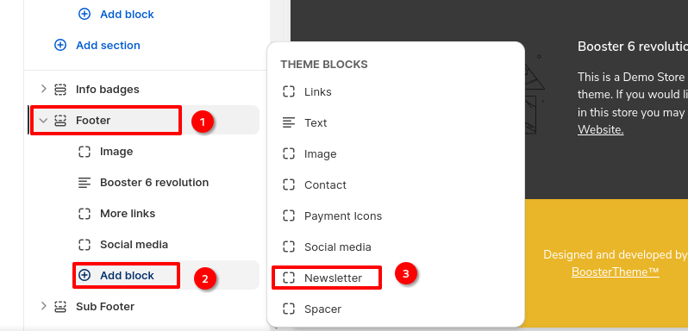
Additionally, here is also how you can add Newsletter block to the footer of your website.
Configuring the newsletter provider
We offer the option to use the Shopify Email subscriber Feature or the Mailchimp one.
Simply choose the one that fits best your needs.
Read this article from Shopify to help you understand how to access your subscriber and learn what you can do with those emails.
For Mailchimp, you'll need to go to Theme settings --> Newsletter.
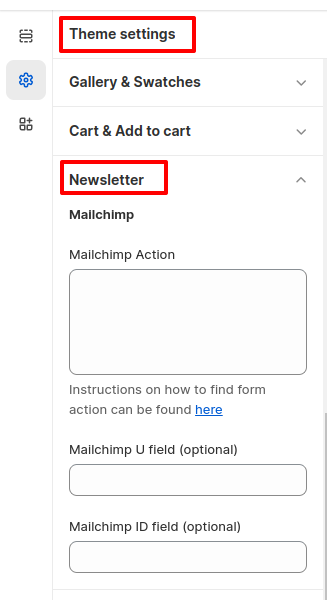
You will have to enter your Mailchimp Action to activate the feature. Here is a video on where to find the Mailchimp Action --> Instruction Video. You can also add Mailchimp U and ID fields if needed.
Settings to customize your newsletter block
Once you have added the newsletter block, it is essential to ensure that it aligns well with your website's branding.
The input text color allows you to choose the color of the text that is entered in the field.
The input background color gives you the ability to customize the background of your newsletter.
You can also personalize the text in the newsletter by using the placeholder text feature.

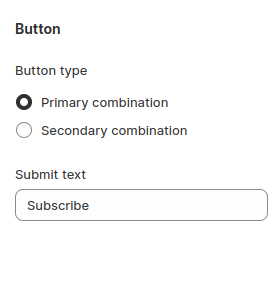
Button type is using the combinations you created in the Theme Settings. You can choose between your Primary or Secondary Combination.
Submit text will modify the text of your button for subscribing to the newsletter.
- End of the article -