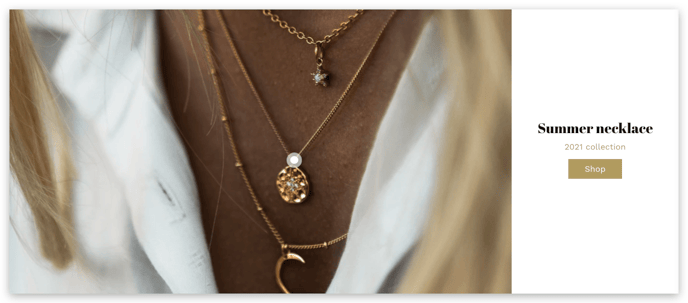
This article will guide you on how to setup Lookbook + text.
The lookbook is helpful in showcasing the designs in an innovative manner. Upon being accompanied by text, it looks more attractive. So, let’s find out how to set up Lookbook + text in Booster Theme.
In this article:
- Adding Lookbook + text section
- New update! (Booster V7) - Countdown Timer
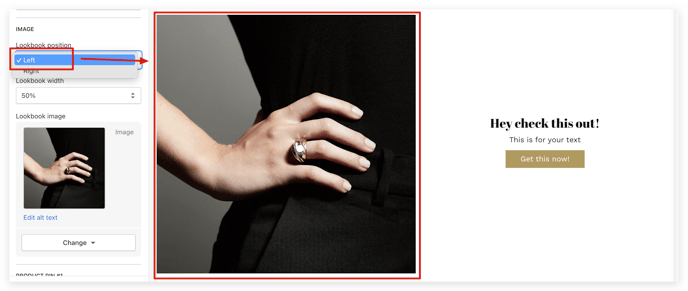
- Image position
- Image width
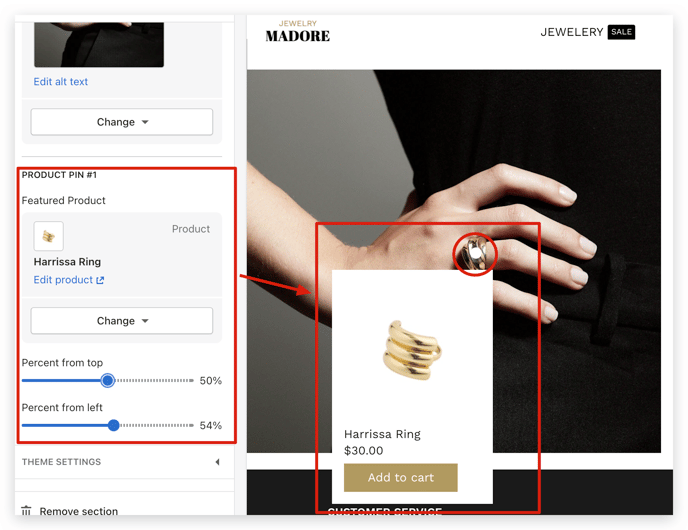
- Product Pin #1
- Featured Product
- Pin
Adding Lookbook + text section
Click on Add Section -> Lookbook + text section.
The following blocks can be added to the Video + text section:
- Heading
- Text
- Button
- Highlighted text
- Separator
- Custom Heading
- Custom Text
- Custom Button
- Newsletter
- Page Content
- Liquid
- HTML
- Accordion
New update! (Booster V7)
Countdown Timer
Level up your Lookbook + Text sections with countdown timers. By adding a limited-time offer or deadline, you can create a sense of urgency that gets people excited and makes them want to buy now. This powerful tool can help you:
- Boost sales and make more money.
- Create a sense of scarcity and urgency.
- Get your audience excited and engaged.
- Make your brand stand out from the competition.
Use countdown timers to make your Lookbook + Text sections even more effective and reach your marketing goals.
Image position
This setting modifies the position of the image. It allows the image to be placed either on the left or on the right.
Image width
This setting makes changing the image width convenient.
Product Pin #1
A product pin makes it easier for customers to see the products that are being sold. The customers may also see the price, availability, and location from where they can be bought.
Featured Product
This setting lets the sellers choose the desired featured product
Pin
We offer the option to move the pin along the X and Y axis. With these settings, you can position the pin on the image in your desired manner.
- End of the article -


