If you're having some troubles installing our theme. Please contact our support team at support@boostertheme.com or fill up our contact form HERE.
In this article:
Installation Guide Video
Activating Your License
Step 1.1
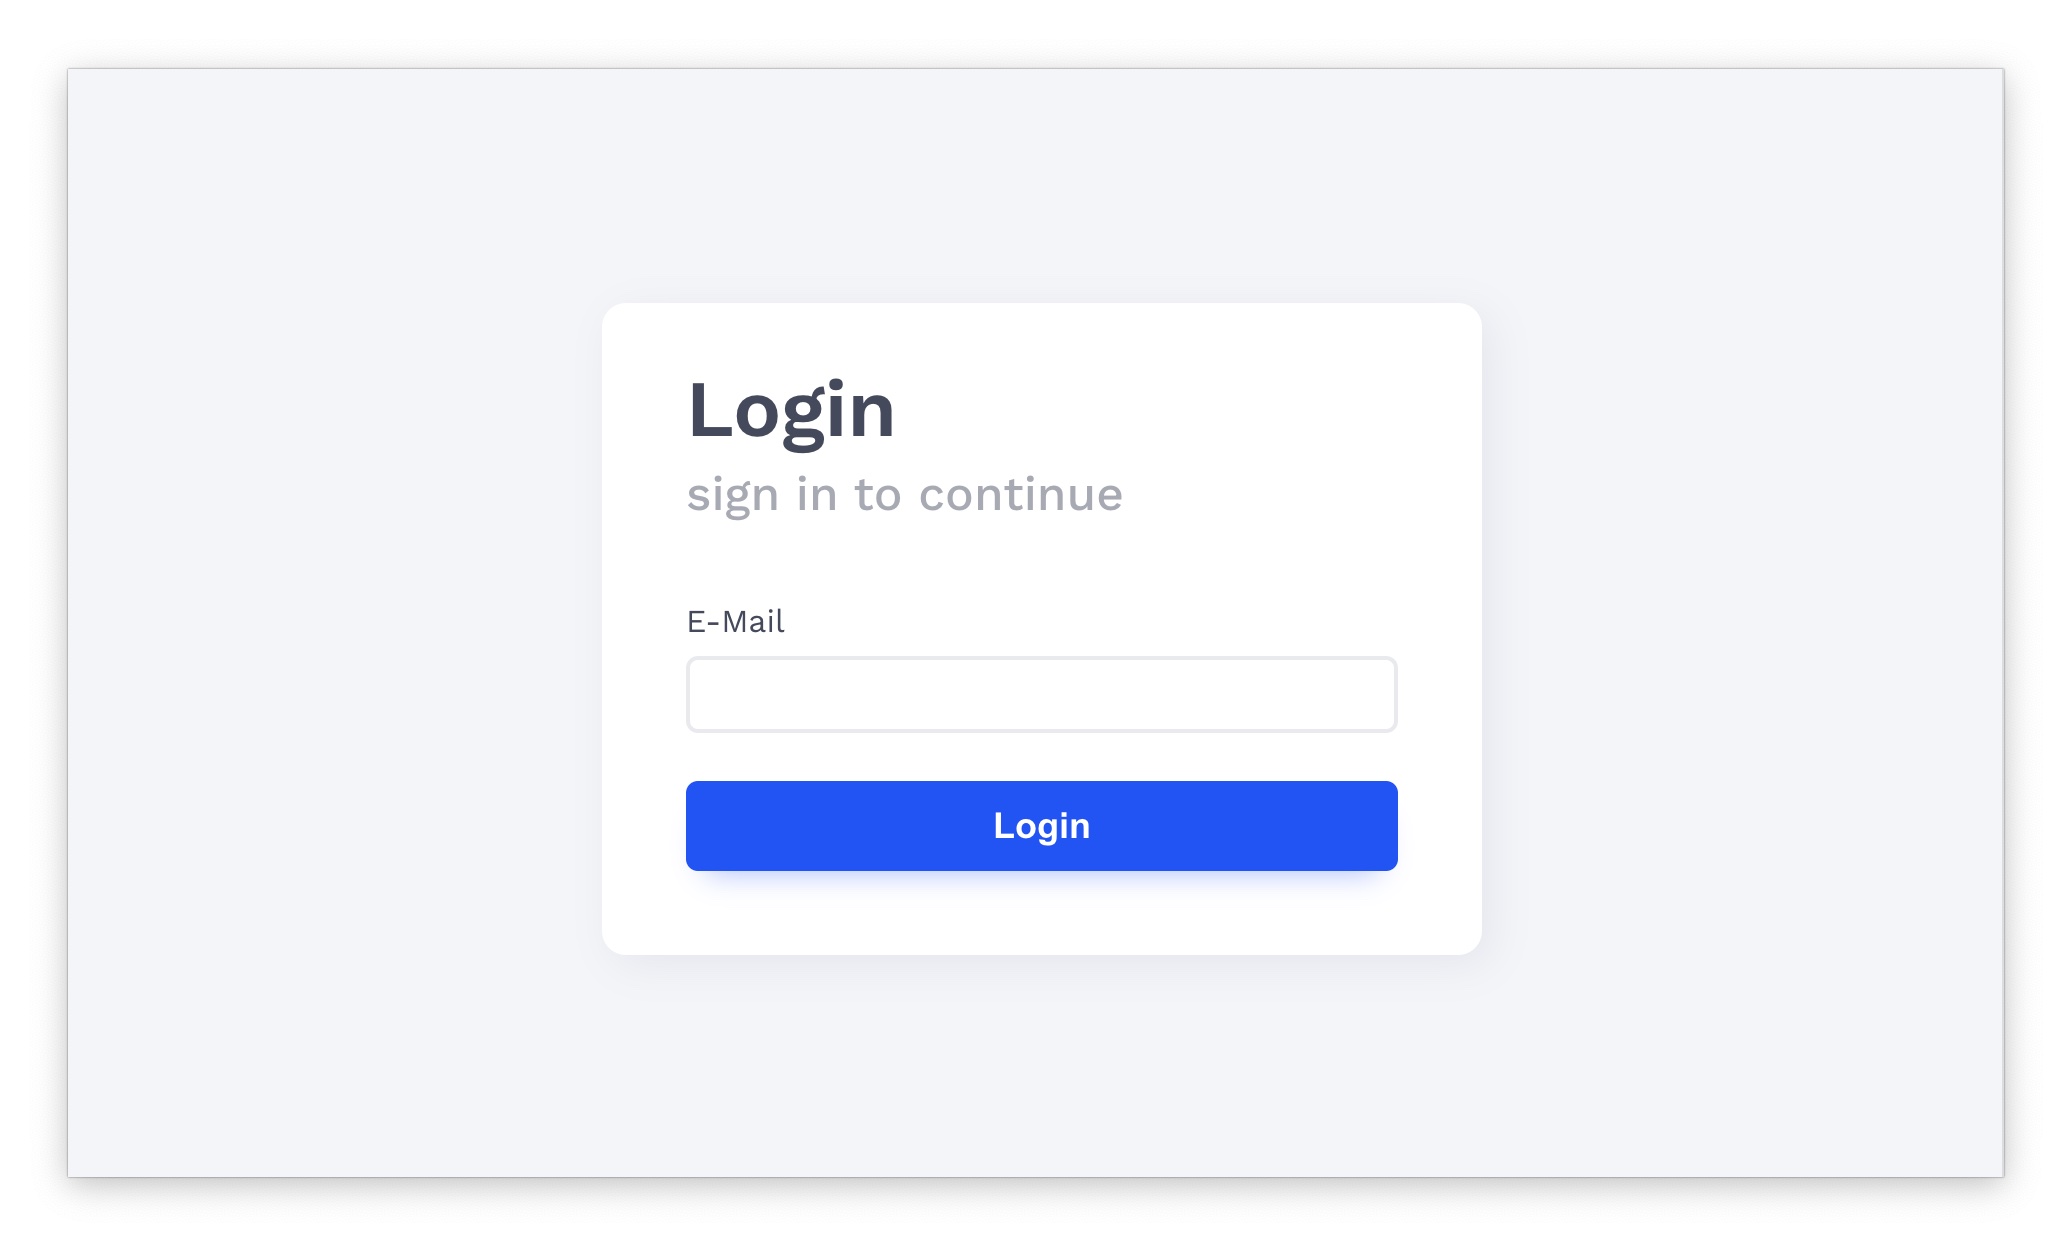
Go to https://users.boostertheme.com/.
Step 1.2
Enter the email used at purchase in the text field and click Login. This will send a login link directly to your email inbox.
Step 1.3
Go to your inbox and you'll have received an email titled: [BoosterTheme] Your User Panel Login Link.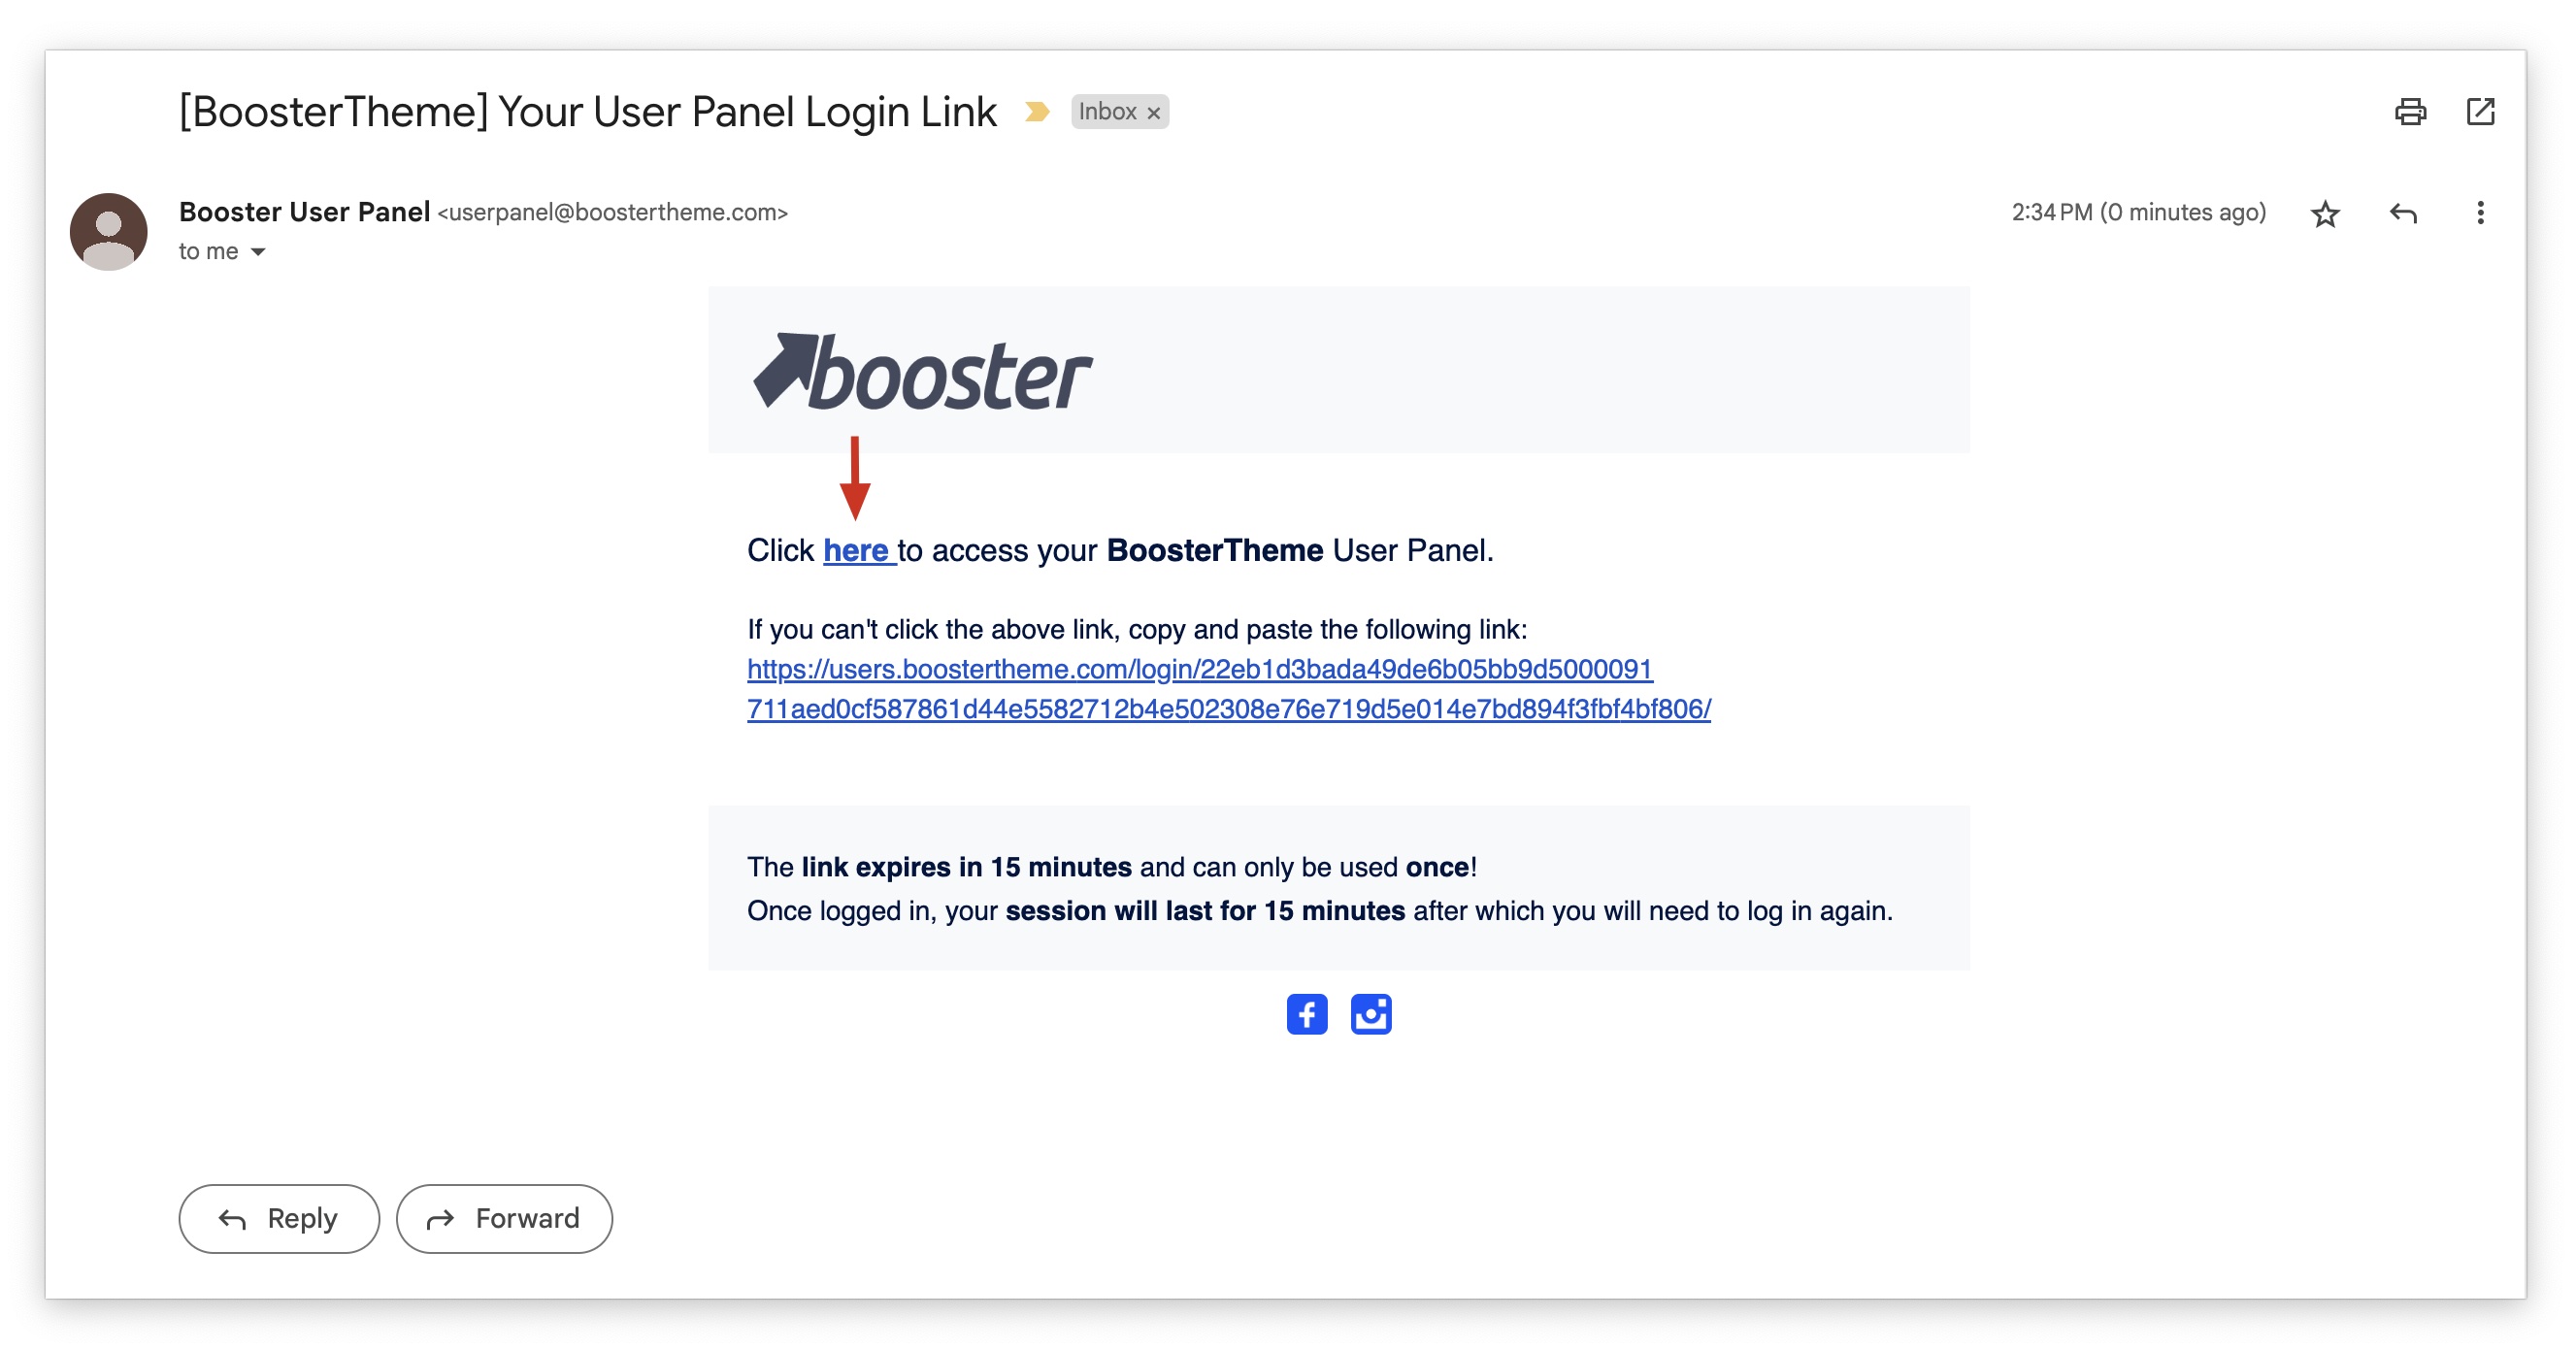
Step 1.4
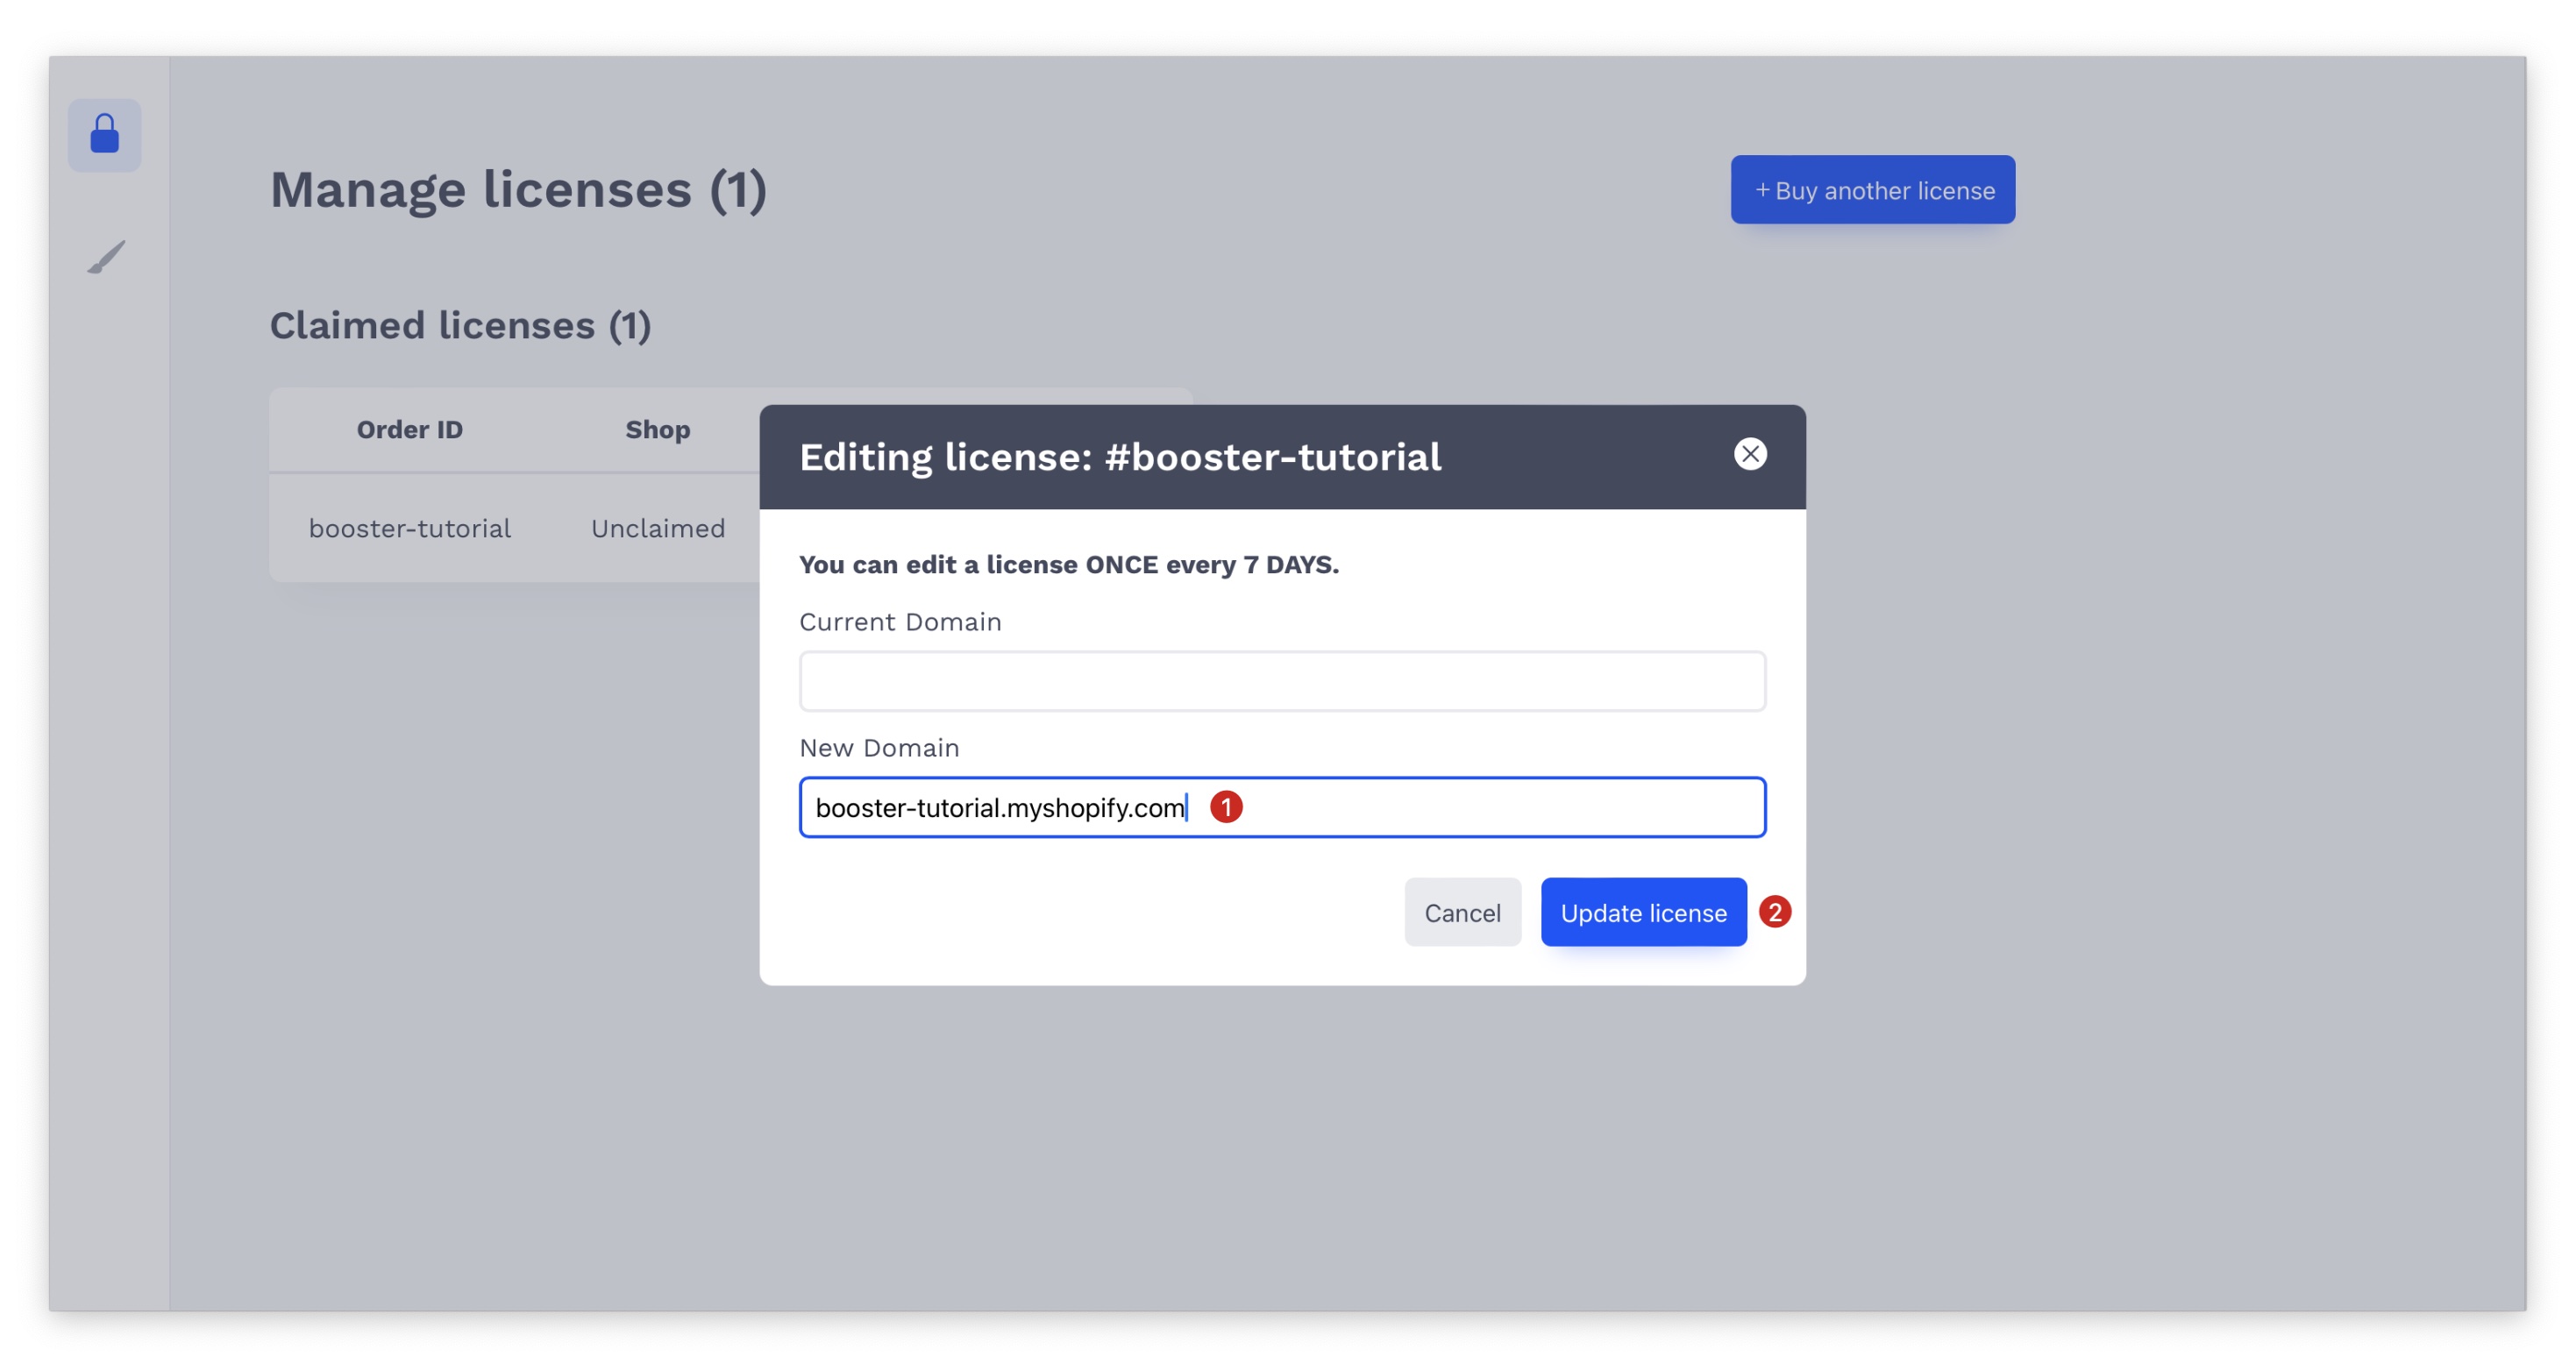
On the Users Panel, click Edit license.
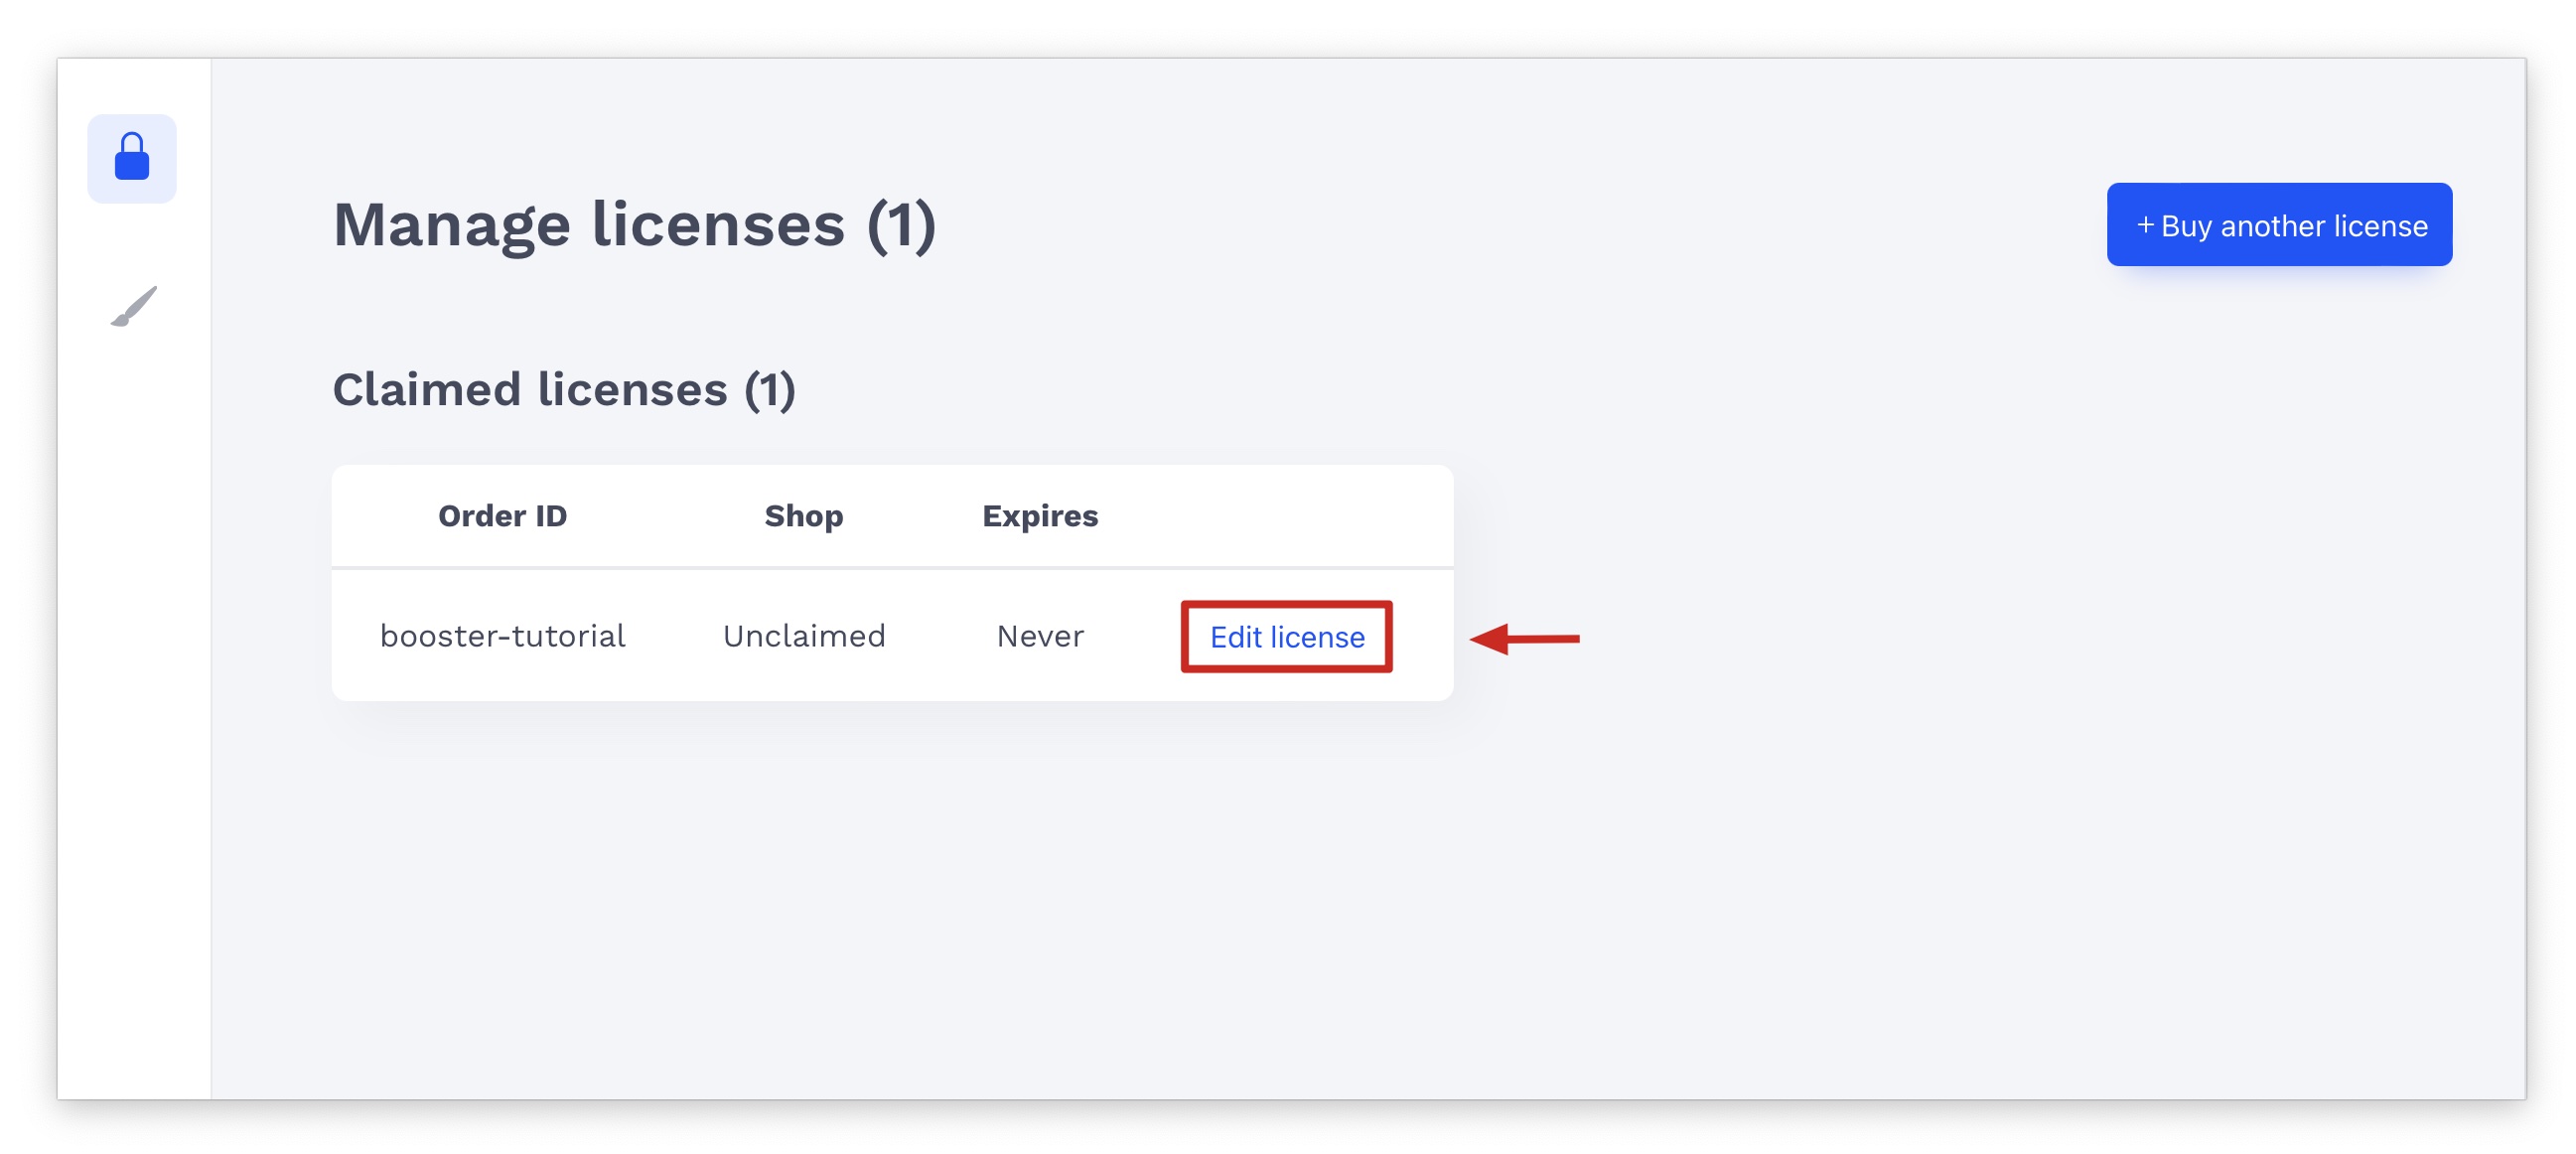
Step 1.5
Enter your Shopify URL in the New Domain textbox and click Update license.
NOTE:
- The Shopify URL should be in this format: sample.myshopify.com.
- You can only edit your license once every 7 days. If you made a spelling mistake or entered the wrong URL and can't wait 7 days, you may contact our support so we can update it for you.
Choosing a Preset and Installing Booster Theme
Step 2.1
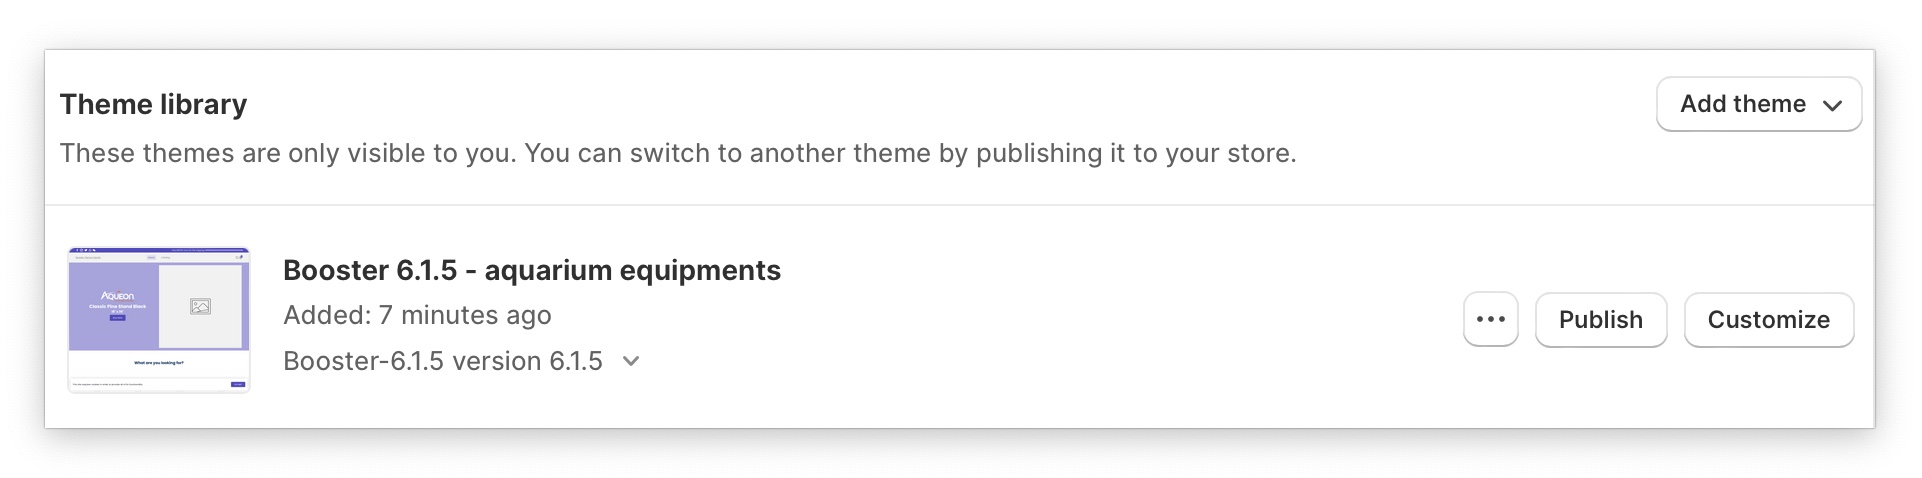
Download the Booster Theme zip file directly from the Booster Central User Panel.
To do this, go to the Themes tab and click on the download icon corresponding to the theme version you wish to install on your store.
To download the latest version of the theme, locate the Version column and identify the row with the highest number. This represents the latest theme version.
Please note that the downloaded file is a ZIP archive containing all available presets.
You can find the complete list of presets HERE.

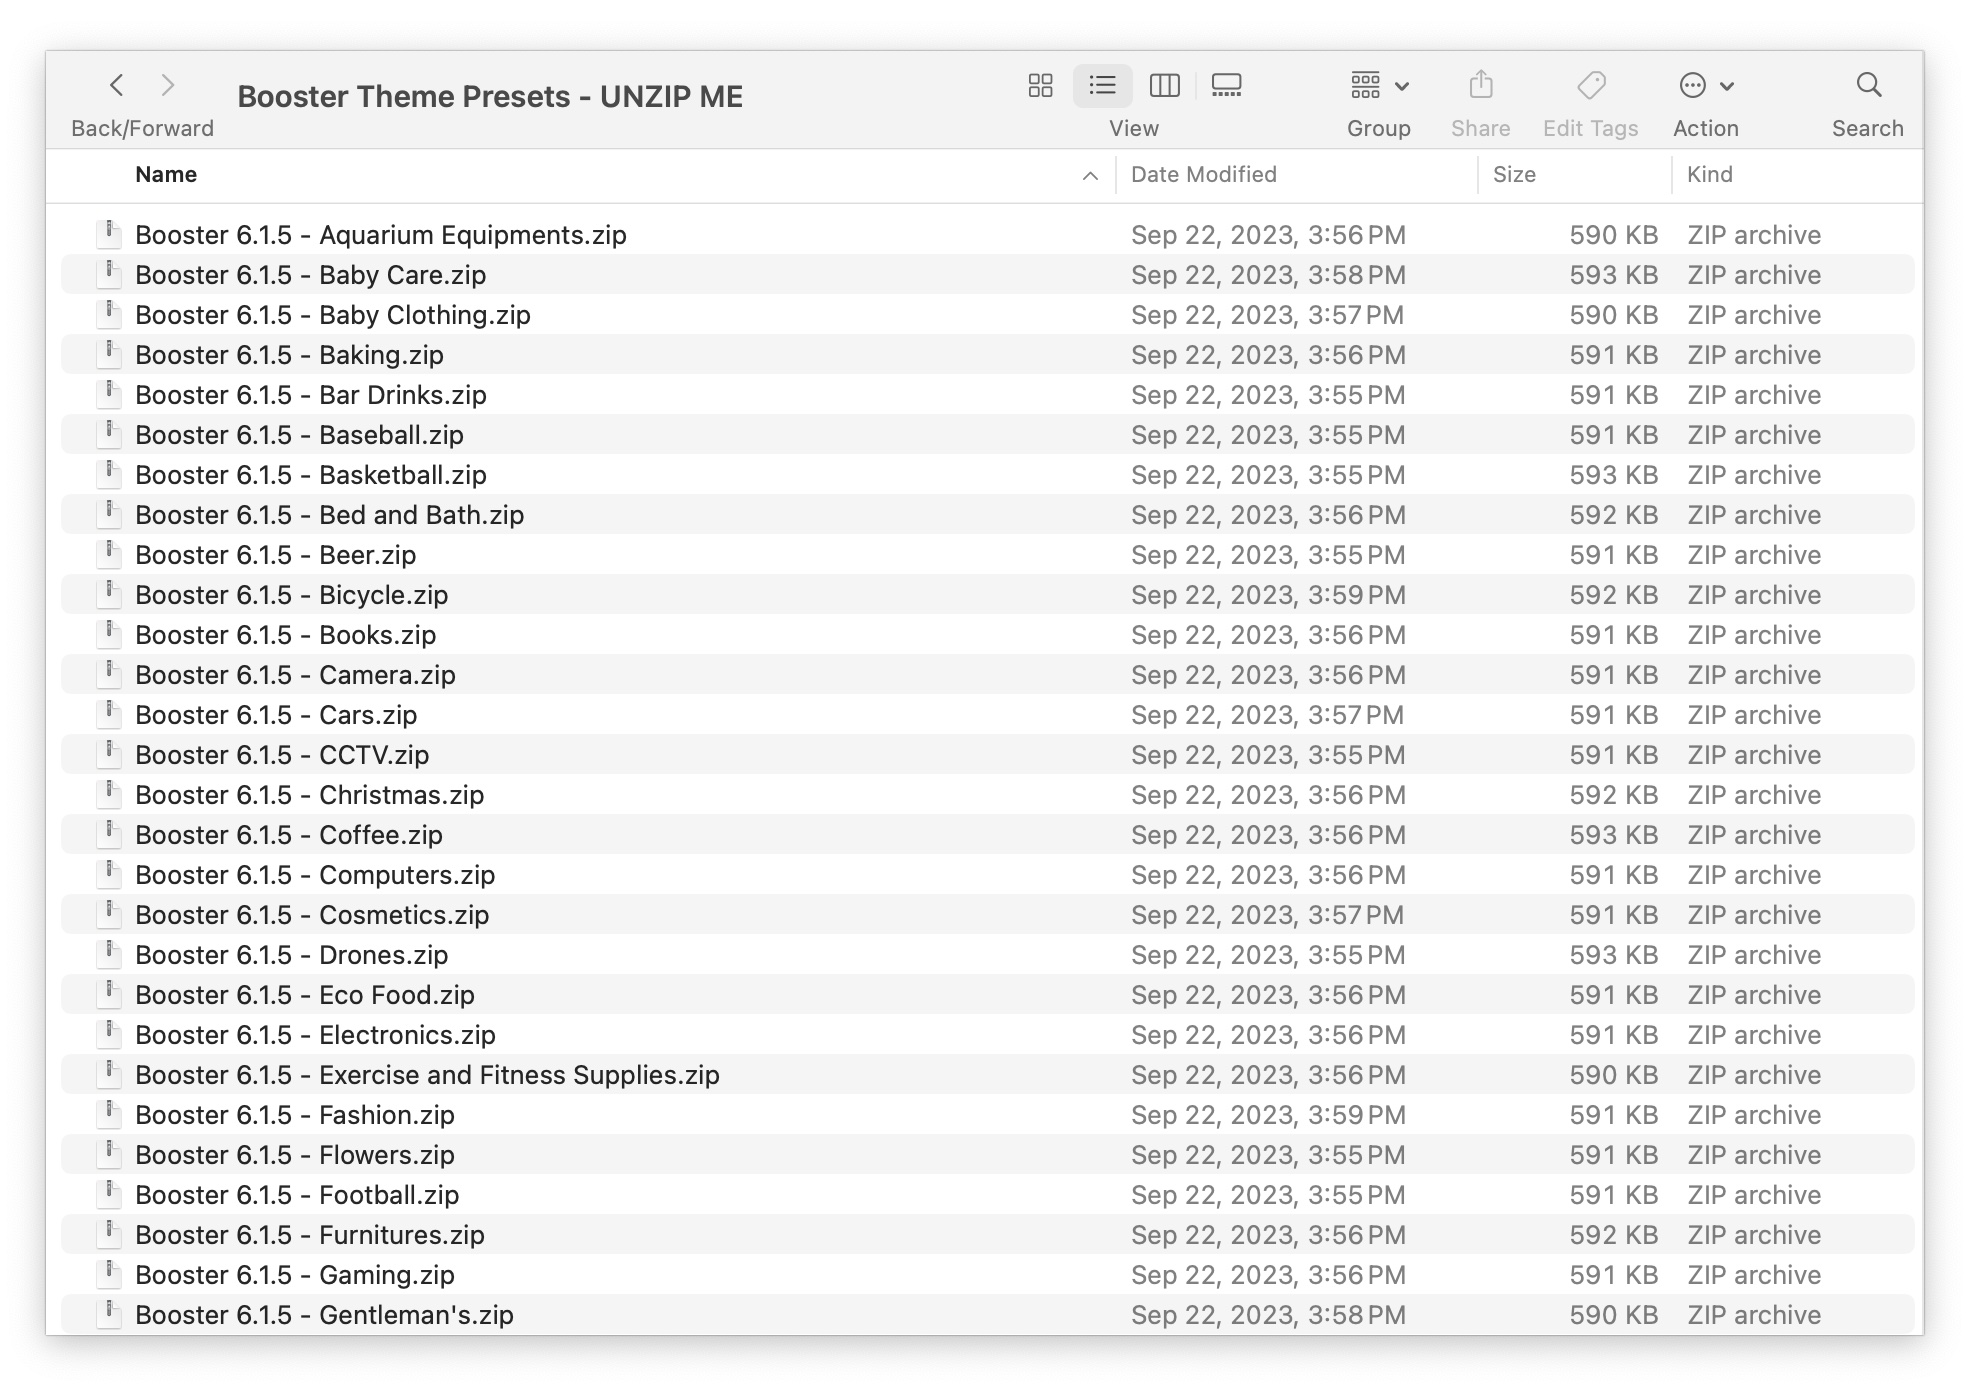
Step 2.2
Open (for Mac) or unzip (for Windows) the zip file Booster Theme Presets - UNZIP ME.zip to get the Booster Theme Presets folder that contains all the different presets we offer.
Step 2.3
Go to your Shopify store and upload the zip file of the preset you want to use. Watch the video tutorial below to learn how:
You are now ready to customize your store!